Connecting a database to a frontend website is a critical step in building dynamic, data-driven web applications. This process allows your website to retrieve, store, and manipulate data seamlessly, enabling features like user authentication, content management, and real-time updates. In this article, we’ll walk through the key steps and considerations for connecting a database to a frontend website, using a practical example with Node.js, Express, and MongoDB on the backend, and a simple HTML/JavaScript frontend.
Why Connect a Database to a Frontend?
A database stores your application’s data, such as user profiles, product listings, or blog posts. The frontend, typically built with HTML, CSS, and JavaScript, is what users interact with. By connecting the two, you enable dynamic functionality, such as:
- Displaying data fetched from the database (e.g., a list of products).
- Accepting user input (e.g., form submissions) and storing it in the database.
- Updating or deleting data based on user actions.
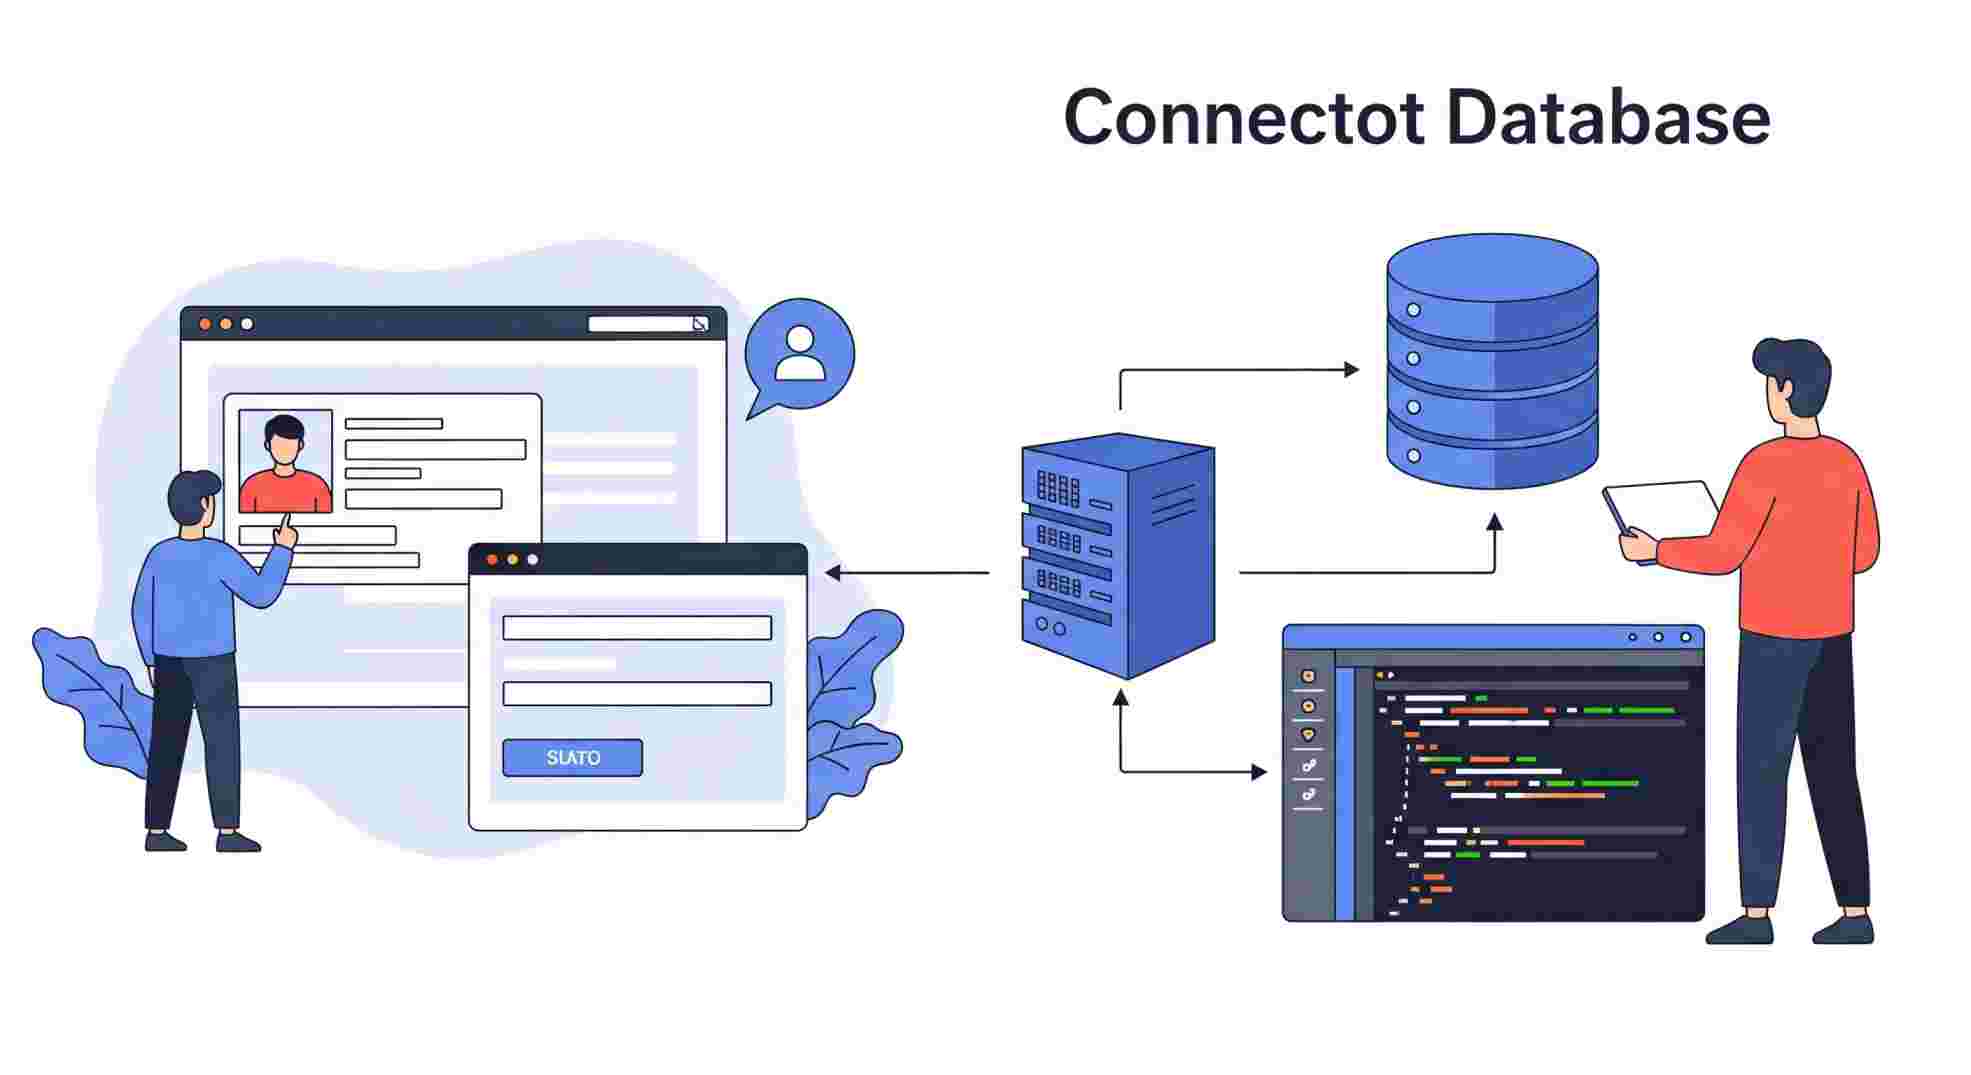
To achieve this, you need a backend server to act as an intermediary between the frontend and the database, handling requests and ensuring secure data transfer.
Step-by-Step Guide to Connecting a Database to a Frontend
1. Choose Your Technology Stack
For this example, we’ll use:
- Frontend: HTML and JavaScript (with Fetch API for HTTP requests).
- Backend: Node.js with Express.js (a popular framework for building APIs).
- Database: MongoDB (a NoSQL database, but you can adapt this for SQL databases like MySQL or PostgreSQL).
- ORM/ODM: Mongoose (for MongoDB to simplify database interactions).
You can choose other stacks (e.g., Django with PostgreSQL or PHP with MySQL) based on your project requirements.
2. Set Up the Backend
The backend handles communication between the frontend and the database. Here’s how to set it up using Node.js, Express, and MongoDB.
Install Dependencies
Create a new directory for your project, initialize a Node.js project, and install the required packages:
mkdir my-web-app
cd my-web-app
npm init -y
npm install express mongoose cors- express: For creating the server and API routes.
- mongoose: For interacting with MongoDB.
- cors: To allow cross-origin requests from the frontend.
Connect to MongoDB
Create a file called server.js and set up the Express server with a MongoDB connection:
const express = require('express');
const mongoose = require('mongoose');
const cors = require('cors');

const app = express();
app.use(cors());
app.use(express.json()); // Parse JSON requests

// Connect to MongoDB
mongoose.connect('mongodb://localhost:27017/mydb', {
  useNewUrlParser: true,
  useUnifiedTopology: true,
})
  .then(() => console.log('Connected to MongoDB'))
  .catch((err) => console.error('MongoDB connection error:', err));

// Define a simple schema and model
const ItemSchema = new mongoose.Schema({
  name: String,
  description: String,
});
const Item = mongoose.model('Item', ItemSchema);

// API route to get all items
app.get('/api/items', async (req, res) => {
  try {
    const items = await Item.find();
    res.json(items);
  } catch (err) {
    res.status(500).json({ error: 'Server error' });
  }
});

// API route to add an item
app.post('/api/items', async (req, res) => {
  try {
    const newItem = new Item(req.body);
    await newItem.save();
    res.status(201).json(newItem);
  } catch (err) {
    res.status(400).json({ error: 'Bad request' });
  }
});

// Start the server
const PORT = 5000;
app.listen(PORT, () => console.log(`Server running on port ${PORT}`));
In this code:
- We connect to a local MongoDB instance (ensure MongoDB is installed and running).
- We define a simple Item schema with name and description fields.
- We create two API endpoints: one to fetch all items (GET /api/items) and one to add a new item (POST /api/items).
3. Create the Frontend
The frontend will interact with the backend via HTTP requests. Create an index.html file in a separate directory (e.g., frontend).
<!DOCTYPE html>
<html lang="en">
<head>
  <meta charset="UTF-8">
  <meta name="viewport" content="width=device-width, initial-scale=1.0">
  <title>Database-Driven Website</title>
  <style>
    body { font-family: Arial, sans-serif; margin: 20px; }
    .item { margin: 10px 0; padding: 10px; border: 1px solid #ccc; }
  </style>
</head>
<body>
  <h1>My Items</h1>
  <form id="itemForm">
    <input type="text" id="name" placeholder="Item Name" required>
    <input type="text" id="description" placeholder="Description" required>
    <button type="submit">Add Item</button>
  </form>
  <div id="itemsList"></div>

  <script>
    // Fetch and display items
    async function fetchItems() {
      const response = await fetch('http://localhost:5000/api/items');
      const items = await response.json();
      const itemsList = document.getElementById('itemsList');
      itemsList.innerHTML = '';
      items.forEach(item => {
        const div = document.createElement('div');
        div.className = 'item';
        div.innerHTML = `<strong>${item.name}</strong>: ${item.description}`;
        itemsList.appendChild(div);
      });
    }

    // Handle form submission
    document.getElementById('itemForm').addEventListener('submit', async (e) => {
      e.preventDefault();
      const name = document.getElementById('name').value;
      const description = document.getElementById('description').value;

      await fetch('http://localhost:5000/api/items', {
        method: 'POST',
        headers: { 'Content-Type': 'application/json' },
        body: JSON.stringify({ name, description }),
      });

      // Clear form and refresh items
      document.getElementById('itemForm').reset();
      fetchItems();
    });

    // Load items on page load
    fetchItems();
  </script>
</body>
</html>
In this frontend code:
- We create a simple form to add new items.
- We use the Fetch API to make GET and POST requests to the backend.
- The fetchItems function retrieves and displays all items from the database.
- The form submission sends new item data to the backend and refreshes the list.
4. Run the Application
- Start MongoDB: Ensure MongoDB is running locally (e.g., mongod in a terminal).
- Run the Backend: In the backend directory, run node server.js.
- Serve the Frontend: Use a simple HTTP server (e.g., npx http-server in the frontend directory) or open index.html in a browser (note: you may need a server due to CORS).
- Test the Application: Open the frontend in your browser (e.g., http://localhost:8080). You should be able to add items via the form and see them displayed after fetching from the database.
5. Security Considerations
When connecting a database to a frontend, keep these best practices in mind:
- Never Expose Database Credentials: Store sensitive information (e.g., database URLs, API keys) in environment variables (use dotenv in Node.js).
- Use HTTPS: Ensure your backend API is served over HTTPS in production to encrypt data in transit.
- Validate and Sanitize Input: Prevent SQL injection (for SQL databases) or malicious data by validating user input on the backend.
- Implement Authentication: Use JWT, OAuth, or similar to restrict access to your API.
- Handle Errors Gracefully: Provide meaningful error messages to the frontend without exposing sensitive information.
6. Scaling and Alternatives
For larger applications, consider:
- Frontend Frameworks: Use React, Vue.js, or Angular for more complex UIs.
- Backend Frameworks: Explore Django, Spring Boot, or Laravel for robust backend features.
- Database Options: Use SQL databases like PostgreSQL for structured data or cloud databases like Firebase for easier setup.
- API Design: Follow REST or GraphQL standards for scalable APIs.
Conclusion
Connecting a database to a frontend website involves setting up a backend server to handle database operations and exposing API endpoints for the frontend to interact with. By following the steps outlined above, you can build a simple yet functional data-driven web application. As you scale, prioritize security, performance, and user experience to create robust applications.
For further learning, explore frameworks like React for the frontend, experiment with different databases, and dive into advanced backend topics like authentication and caching.