Bedazzled Light Switch Ideas: 9 Easy Ways to Bling Up Boring Switch Plates
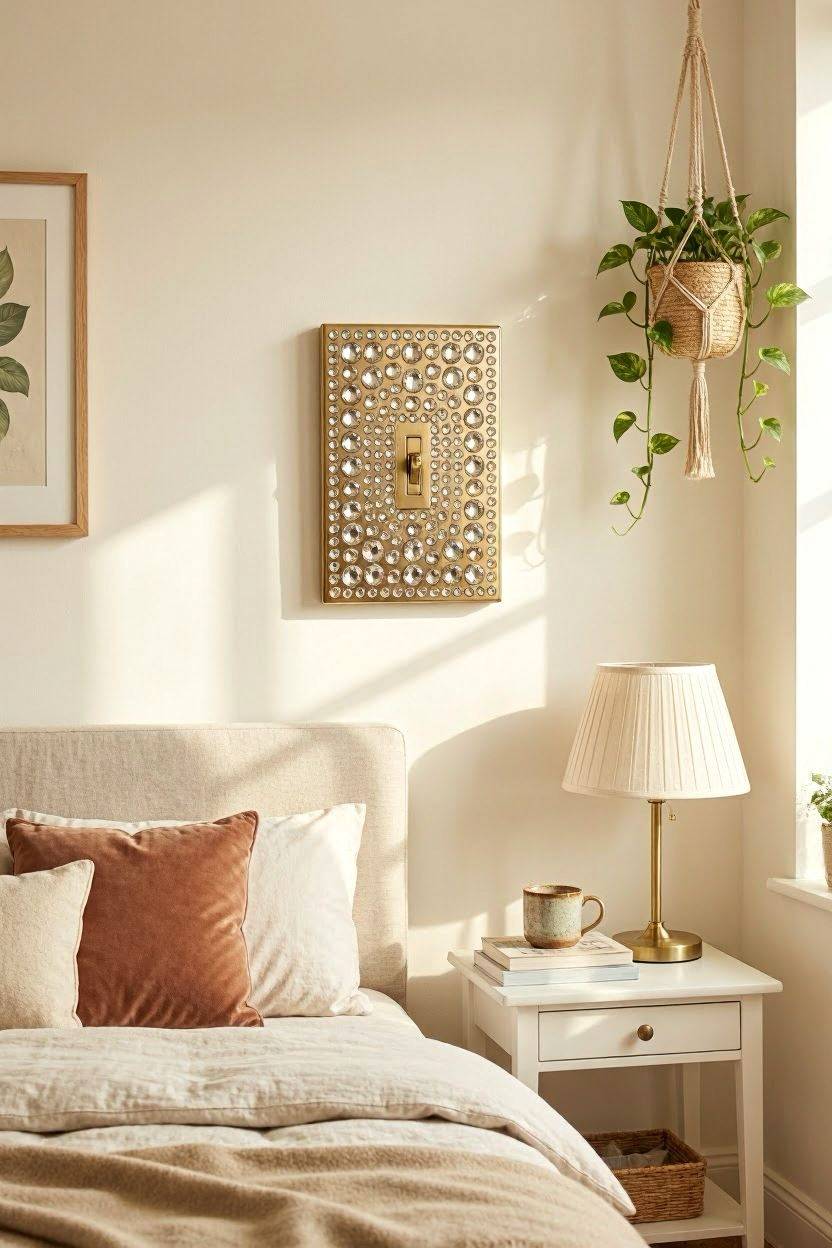
Plain white switch plates are the one spot in a room almost everyone forgets to decorate. They sit right at eye level, get touched every single day, and yet most homes leave them looking exactly like the builder installed them. A bedazzled light switch fixes that in under an hour, for less than the cost of a coffee run, and it works in a rental, a dorm, or a home you own outright.
This guide walks you through the idea from start to finish: what “bedazzling” actually means for a switch plate, what it costs, what tools make it easy, and nine real design directions you can copy today.
1. What Does It Mean to Bedazzle a Light Switch
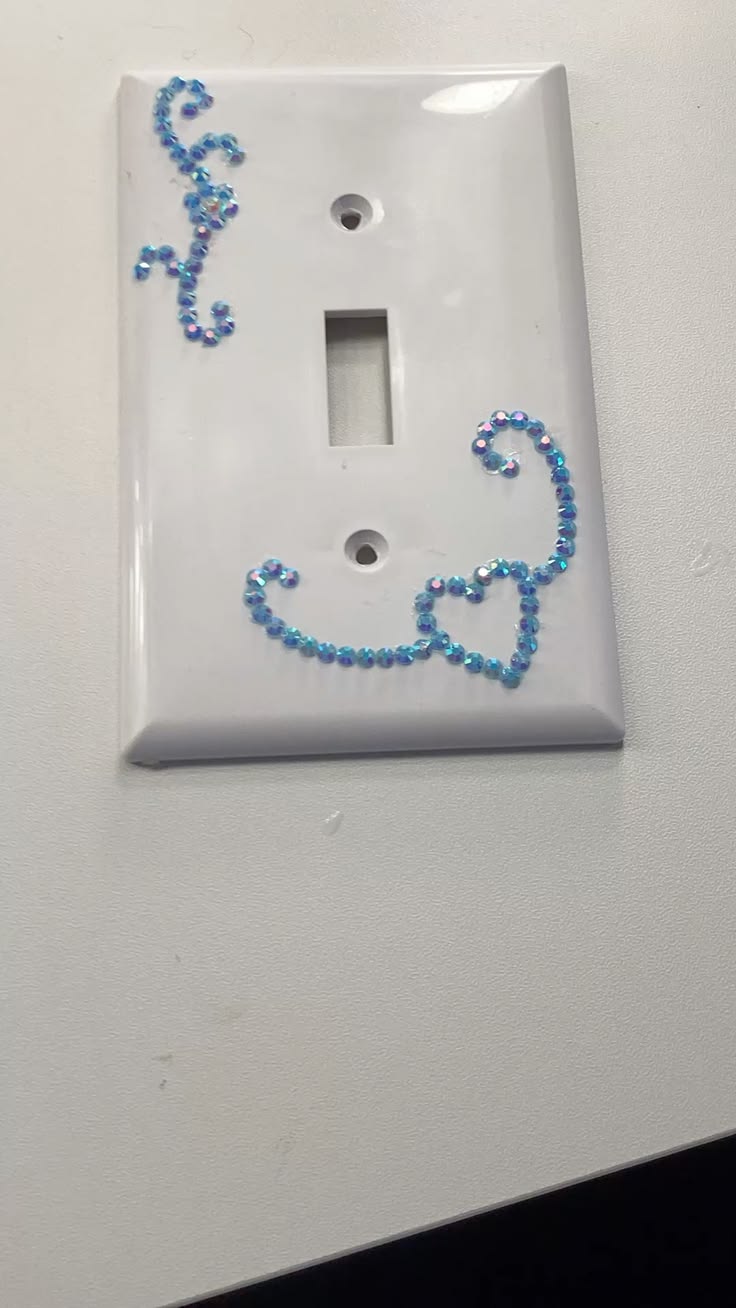
“Bedazzle” simply means covering a surface with small decorative gems, rhinestones, beads, or sparkly trim so it catches the light. Applied to a light switch, it turns a flat plastic or metal switch plate into a small piece of jewelry for your wall.
Most people either:
- Decorate the existing switch plate that’s already on the wall, or
- Buy a blank plate and decorate it separately before swapping it in
Both approaches give the same sparkly result. The second one is safer if you rent, since you can keep the original plate to put back before you move out.
2. Why Bother Decorating a Switch Plate
A switch plate is small, but it’s one of the few decor items your hand actually touches every day. Designers like this project for three reasons:
- Low cost, high impact. A $6 sheet of rhinestones can transform a $2 plastic plate into something that looks custom-made.
- No commitment. It’s removable, swappable, and reversible, so it’s ideal for renters.
- Instant personality. It signals a room’s whole style, glam, boho, vintage, from one small object near the doorway.
3. Materials and Tools You’ll Need
| Item | Purpose | Approx. Cost (USD) |
|---|---|---|
| Blank switch plate (plastic or metal) | Base surface to decorate | $2–$5 |
| Flat-back rhinestones or gems | The sparkle | $4–$10 per pack |
| E6000 or gem glue | Holds stones in place | $5–$7 |
| Tweezers or wax pencil | Precise gem placement | $3–$6 |
| Painter’s tape | Protects switch opening | $3 |
| Clear sealant spray (optional) | Protects finish, adds shine | $6–$9 |
Total project cost usually lands between $15 and $30, and one pack of gems is enough for two to three switch plates.
4. Step-by-Step: How to Bedazzle a Light Switch
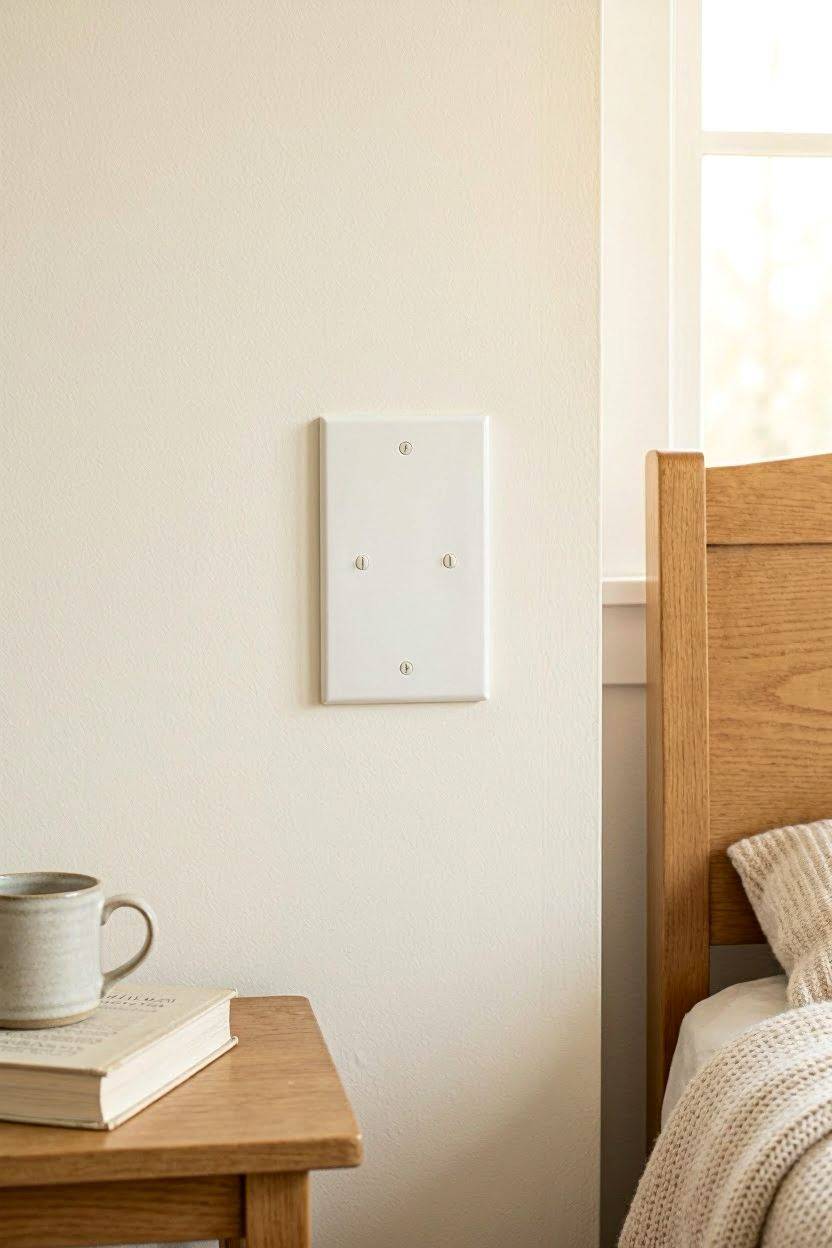
Step 1: Choose Your Base Switch Plate
Pick a plate that matches your finish goal. A smooth plastic plate is easiest for beginners because glue grips it well. A metal or brushed-brass plate gives a more upscale look but needs a slightly stronger glue.
Step 2: Pick Your Gems and Color Story
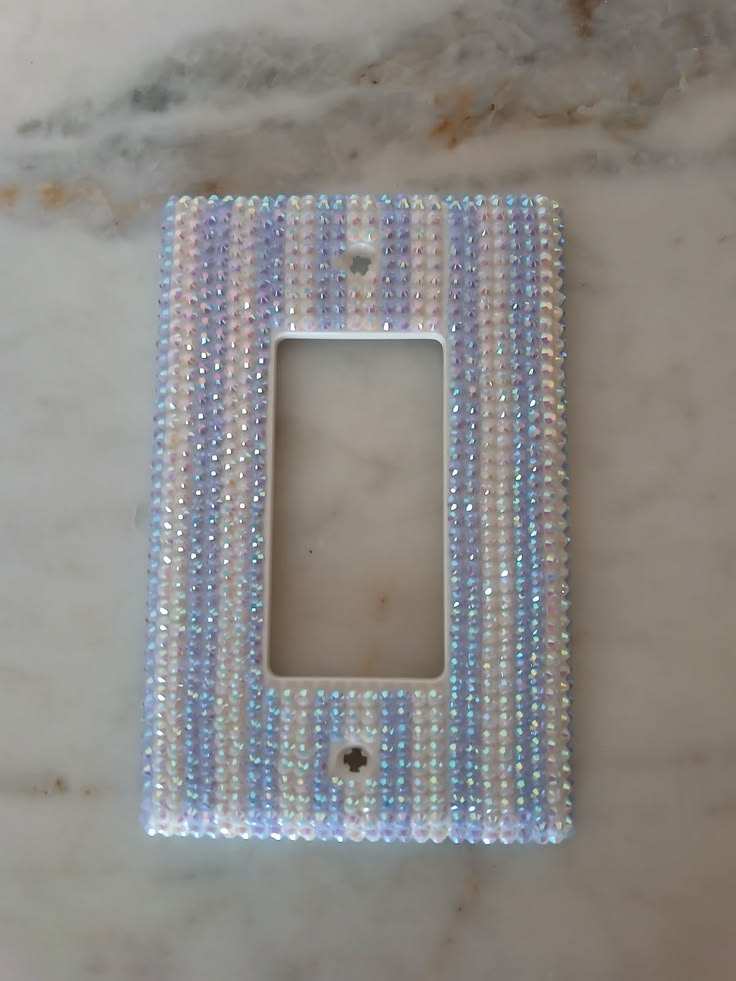
Decide on one color family before you buy. Mixing five random colors tends to look busy on such a small surface. A single tone with two sizes of rhinestone (like a mix of 3mm and 5mm) gives the most polished, boutique look.
Step 3: Lay Out the Pattern Before Gluing Anything
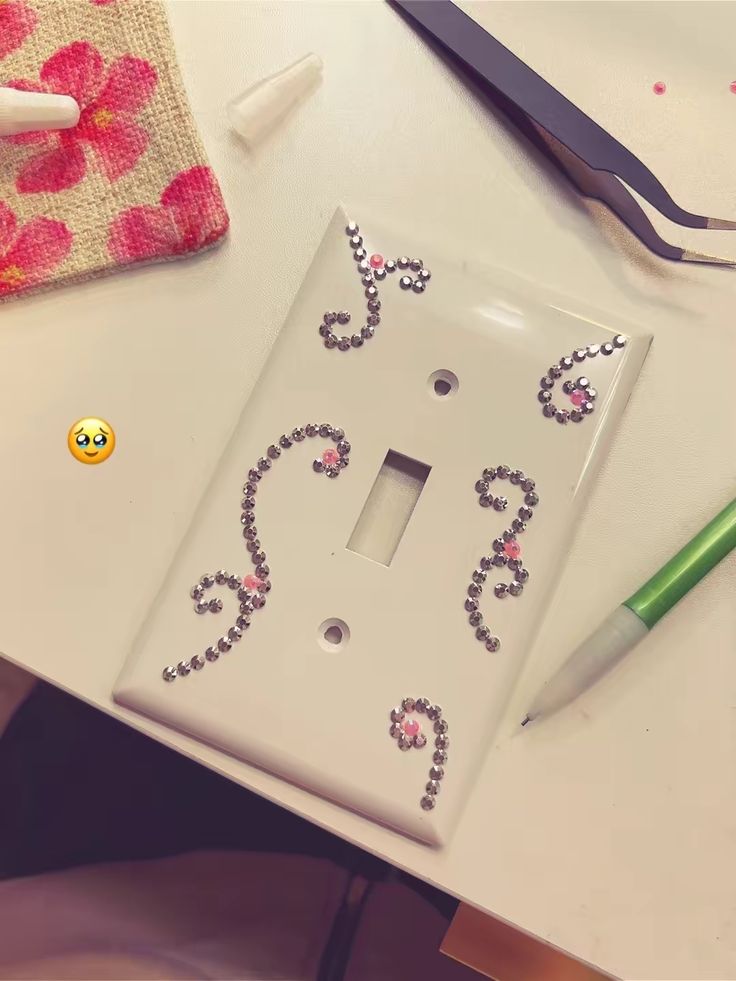
This is the step most people skip, and it’s the one that makes the final result look intentional instead of random. Arrange the gems dry on the plate first. Common layouts include a border around the edge, a scattered “stardust” look, or a monogram initial in the center.
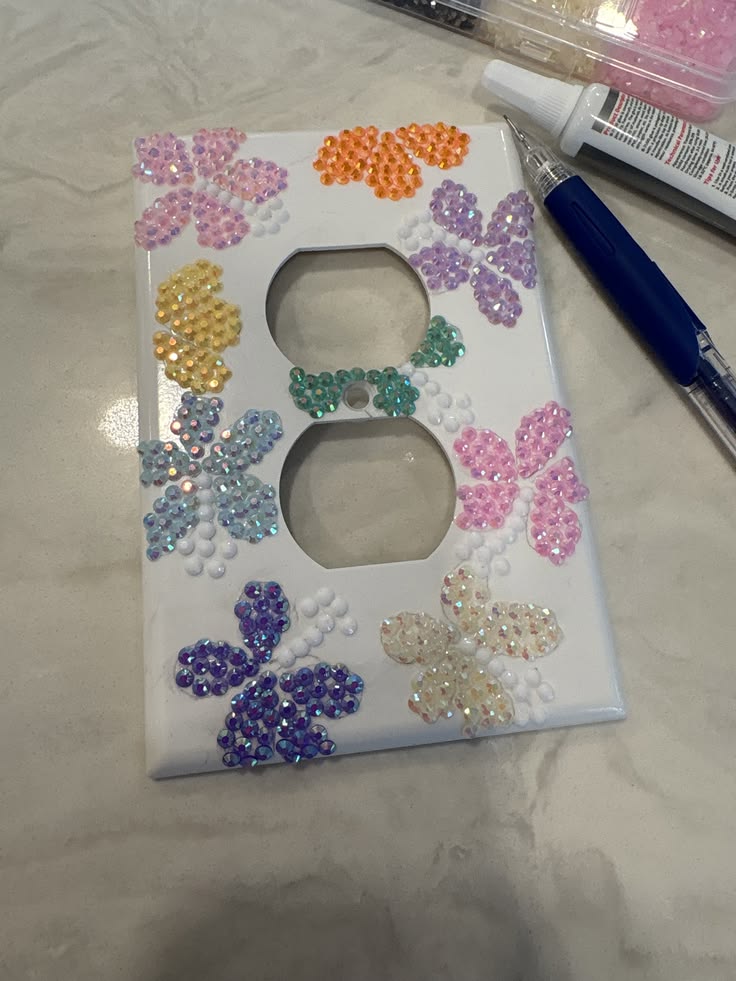
Step 4: Glue the Gems in Place
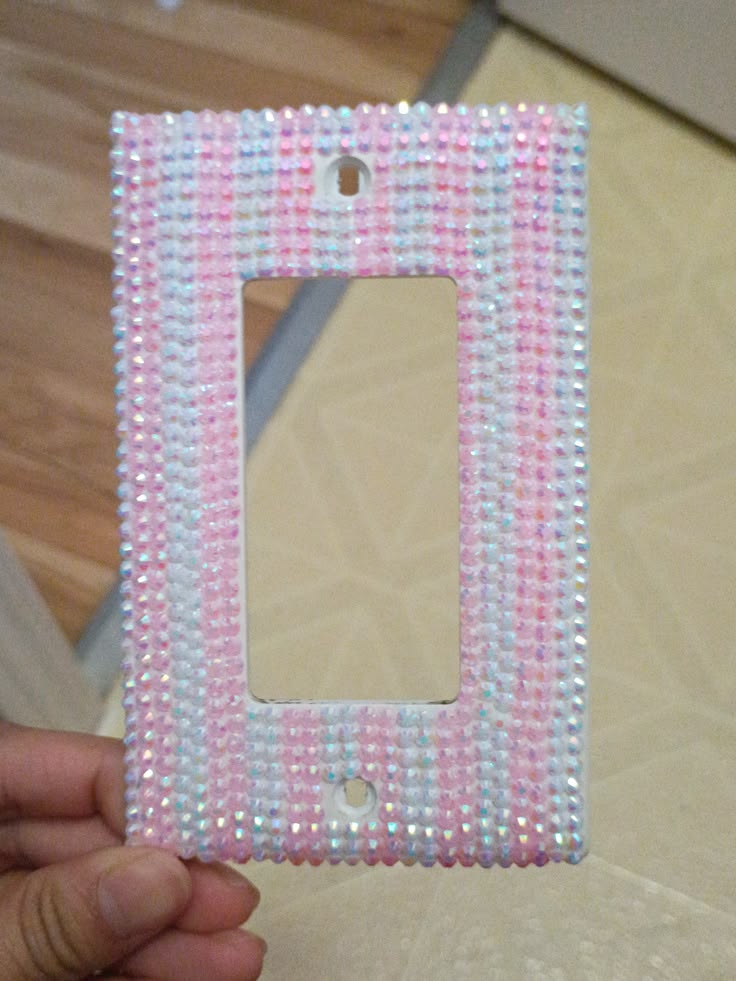
Work in small sections. Dot a tiny bit of glue with a toothpick, then set each gem with tweezers or the sticky end of a wax pencil. Keep the switch opening covered with painter’s tape so nothing gets glued shut.
Step 5: Seal and Let It Cure
Once the layout is complete, let the glue cure fully (check your glue’s label, usually 12–24 hours) before touching the plate again. A light coat of clear sealant spray adds extra shine and helps stones stay put through years of daily use.
5. Design Style Ideas to Copy
Not every room wants the same amount of sparkle. Here are three popular directions.
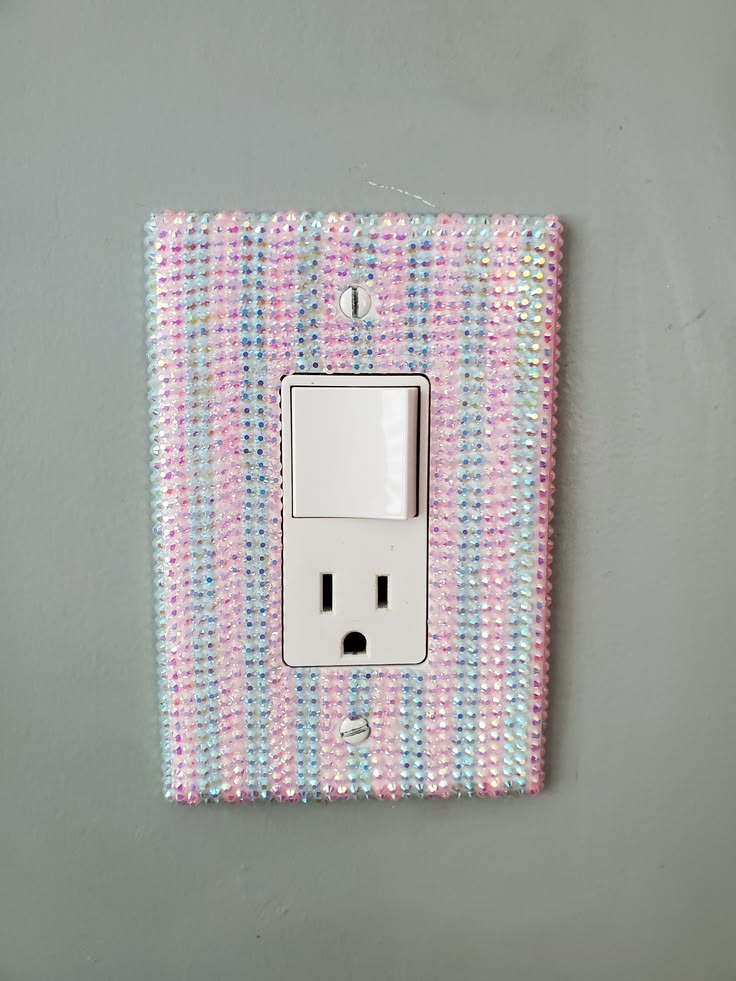
5.1 Glam Style: Full Rhinestone Coverage
Every inch of the plate is covered edge to edge in clear or champagne rhinestones. This works best in a glam bedroom, powder room, or vanity area with existing mirrored or crystal accents.
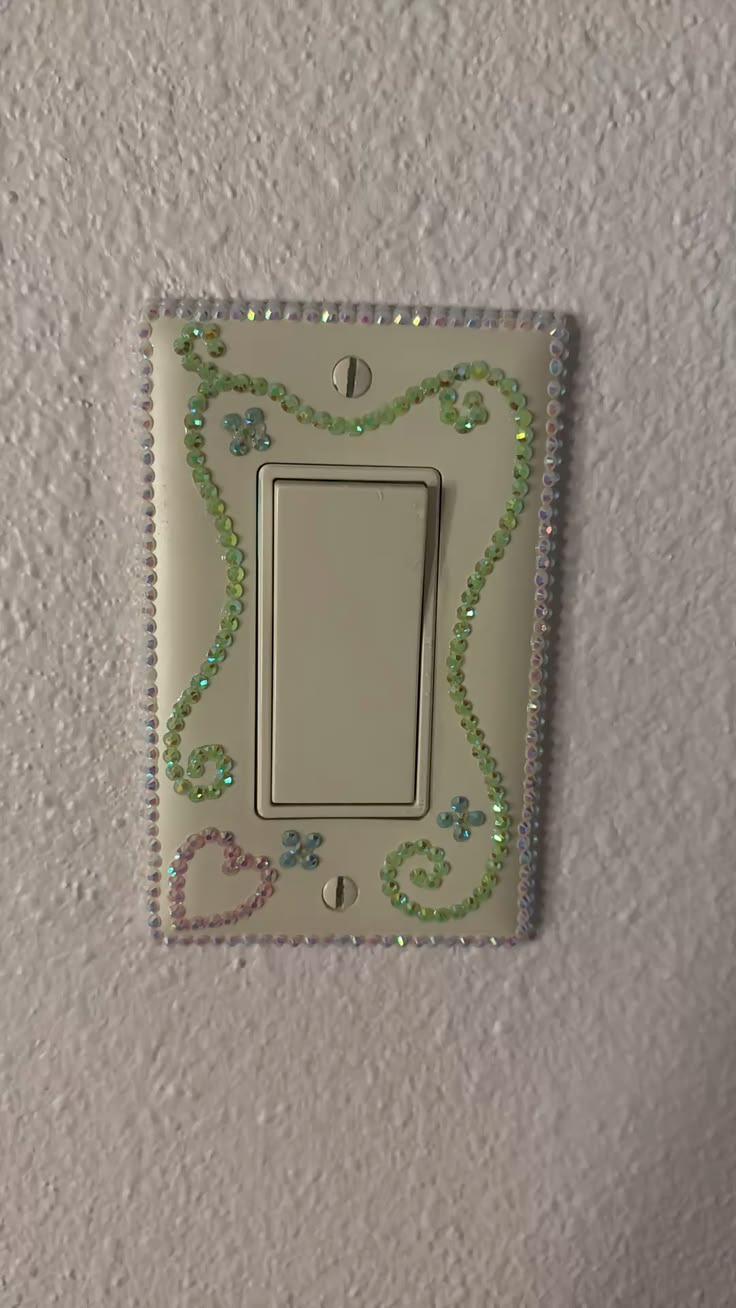
5.2 Boho Style: Beaded Border and Natural Stones
A thin border of wooden beads, small shells, or raw-cut stones around the plate edge, leaving the center plain. This suits boho, coastal, or earthy interiors.
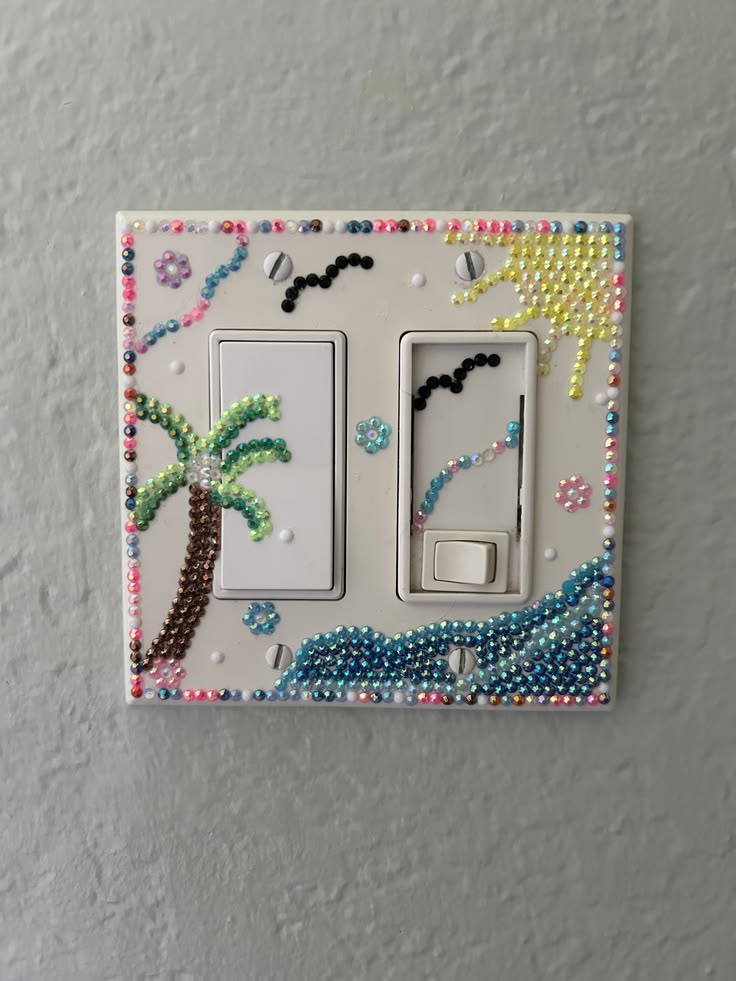
5.3 Minimalist Metallic: Single Line of Gems
One thin, straight line of small gems down the center or along one edge. A quiet, modern option for someone who wants sparkle without looking like a costume accessory.
6. Where the Sparkle Should Live: Placement Tips
Not every switch plate in the house needs this treatment. Save it for rooms where it will actually get noticed.
| Room | Recommended? | Why |
|---|---|---|
| Bedroom | Yes | Matches vanity or mirror sparkle, high visual traffic |
| Powder room / half bath | Yes | Guests notice small details here |
| Entryway | Yes | First impression spot |
| Home office | Sometimes | Keep it subtle so it doesn’t distract during calls |
| Kitchen | No | Grease and frequent wiping will loosen gems fast |
| Kids’ playroom | No | Small gems are a choking hazard |
7. Cost Comparison: DIY vs. Store-Bought
| Option | Average Cost (USD) | Customization | Time Needed |
|---|---|---|---|
| DIY with rhinestone kit | $15–$30 | Full control over pattern and color | 45–90 minutes |
| Pre-made bedazzled plate (Etsy, Amazon) | $18–$45 per plate | Limited to available designs | None, ships ready to install |
| Professional custom order | $35–$70 per plate | Fully custom, made to order | 1–3 weeks lead time |
8. Where to Buy Supplies in the USA
| Supply | Where to Buy | Typical Price |
|---|---|---|
| Flat-back rhinestones | Michaels, JOANN, Amazon | $4–$10 per pack |
| Blank switch plates | Home Depot, Lowe’s, Amazon | $2–$8 |
| E6000 craft glue | Michaels, Walmart, Amazon | $5–$7 |
| Wax placement pencil | JOANN, Amazon | $4–$6 |
| Clear sealant spray | Home Depot, Amazon | $6–$9 |
9. Frequently Asked Questions
Is it safe to glue rhinestones directly onto a switch plate? Yes, as long as you keep glue away from the switch opening and screw holes, and let it cure fully before reinstalling. Always turn off power at the breaker before removing the plate.
Will the gems fall off over time? Not if you use a strong craft adhesive like E6000 and seal the surface. Avoid this project in high-humidity rooms like bathrooms with poor ventilation, since moisture can weaken the glue bond over years.
Can I do this on a light switch that’s already installed? Yes, but it’s easier and safer to remove the plate first. Turn off the breaker, unscrew the plate, decorate it away from the wall, then reinstall once it’s fully dry.
What if I’m renting and can’t make permanent changes? Keep your landlord’s original plate in a labeled bag, install your decorated one instead, and simply swap back before you move out.
Do I need special tools if I’ve never done a craft project before? No. Tweezers, a toothpick for glue, and painter’s tape are all you need. It’s a beginner-friendly project with no power tools involved.
Final Thoughts
A bedazzled light switch is one of the smallest home decor projects with the biggest “wait, you made that?” reaction. It costs less than a takeout order, takes under an hour of actual work, and gives a builder-grade wall detail real personality. Start with one plate in your bedroom or entryway, pick a single color story, and let the pattern step guide the whole look before any glue comes out.