12 Pumpkin Trellis Ideas to Grow More in Less Space
Why Every Gardener Should Think Vertical
I’ve been growing pumpkins for over a decade, and the single biggest mistake I made in year one was letting them sprawl across the ground. They took over half my backyard, shaded out my tomatoes, and I still only got four decent pumpkins. The day I built my first trellis changed everything.
If you’re short on space — a small suburban backyard, a side yard, even a large raised bed — a pumpkin trellis is not optional. It’s the smartest move you’ll make this season. Pumpkins grown vertically get better air circulation, more even sunlight, fewer soil-borne diseases, and honestly, they just look incredible hanging off a structure.
This guide covers 12 real, buildable trellis ideas with honest costs, build times, and which types of pumpkins work best for each. No fluff. Just what actually works.
Quick Reference: What to Expect
| Factor | Range |
|---|---|
| Budget | $0 (repurposed materials) – $250 (cedar arch) |
| Build Time | 20 minutes – 1 weekend |
| Pumpkin varieties | Mini, Sugar Pie, Connecticut Field, Atlantic Giant (small only) |
| Trellis lifespan | 1 season (twine) – 10+ years (metal/wood) |
Main Content: 12 Pumpkin Trellis Ideas
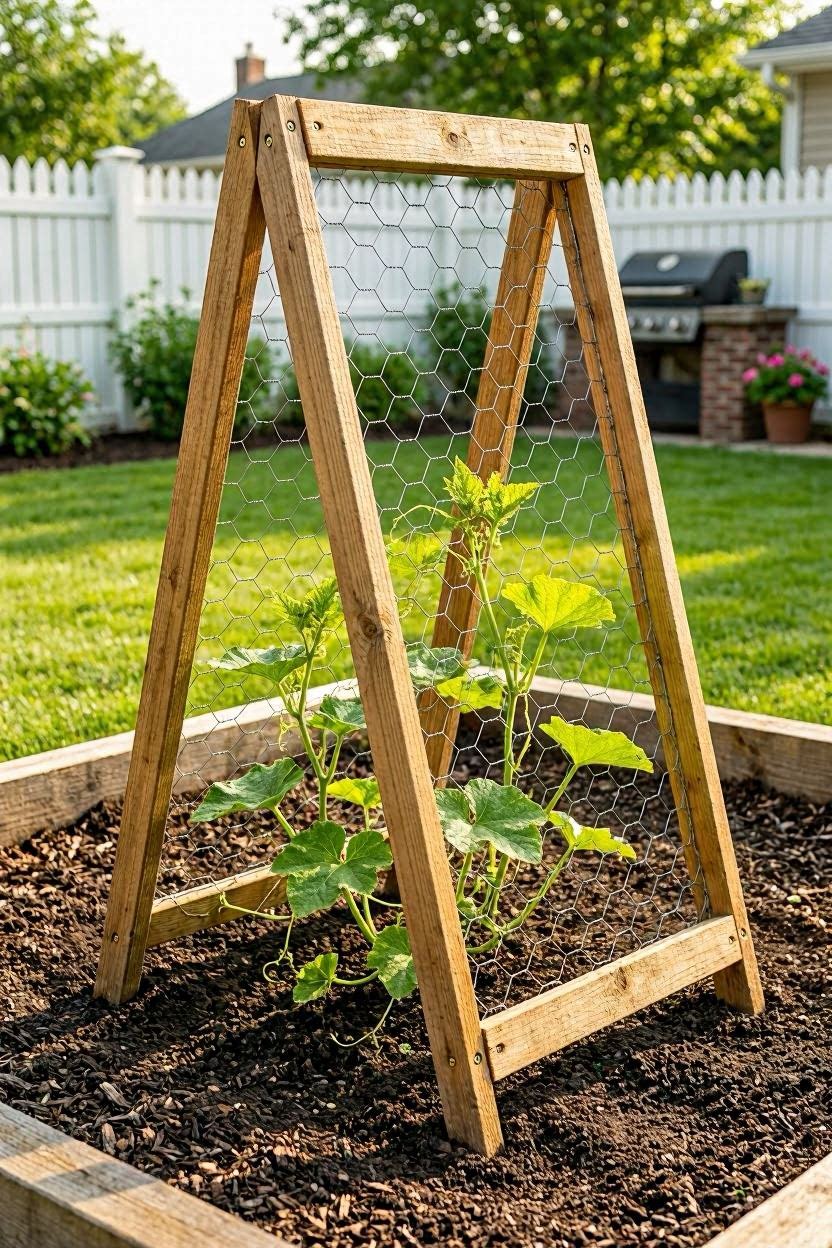
1. The Classic A-Frame Trellis — Best for Beginners
| Budget: $20–$45 | Build Time: 1–2 hours | Skill Level: Beginner |
This is where I’d tell every first-timer to start. Two panels of wire mesh or cattle panel, leaned together in an A shape and tied or clamped at the top. Simple. Stable. Works.
You’ll need:
- Two 4×8 ft panels of welded wire fencing (Home Depot, ~$18 each)
- Two T-posts or wooden stakes (4 ft)
- Wire or zip ties to connect the top
Drive your stakes into the ground about 2 feet apart, lean the panels in, and tie them together at the peak. Total cost is usually under $40 and it lasts several seasons if you store it dry. Best for Sugar Pie or Jack Be Little pumpkins — anything under 10 lbs.
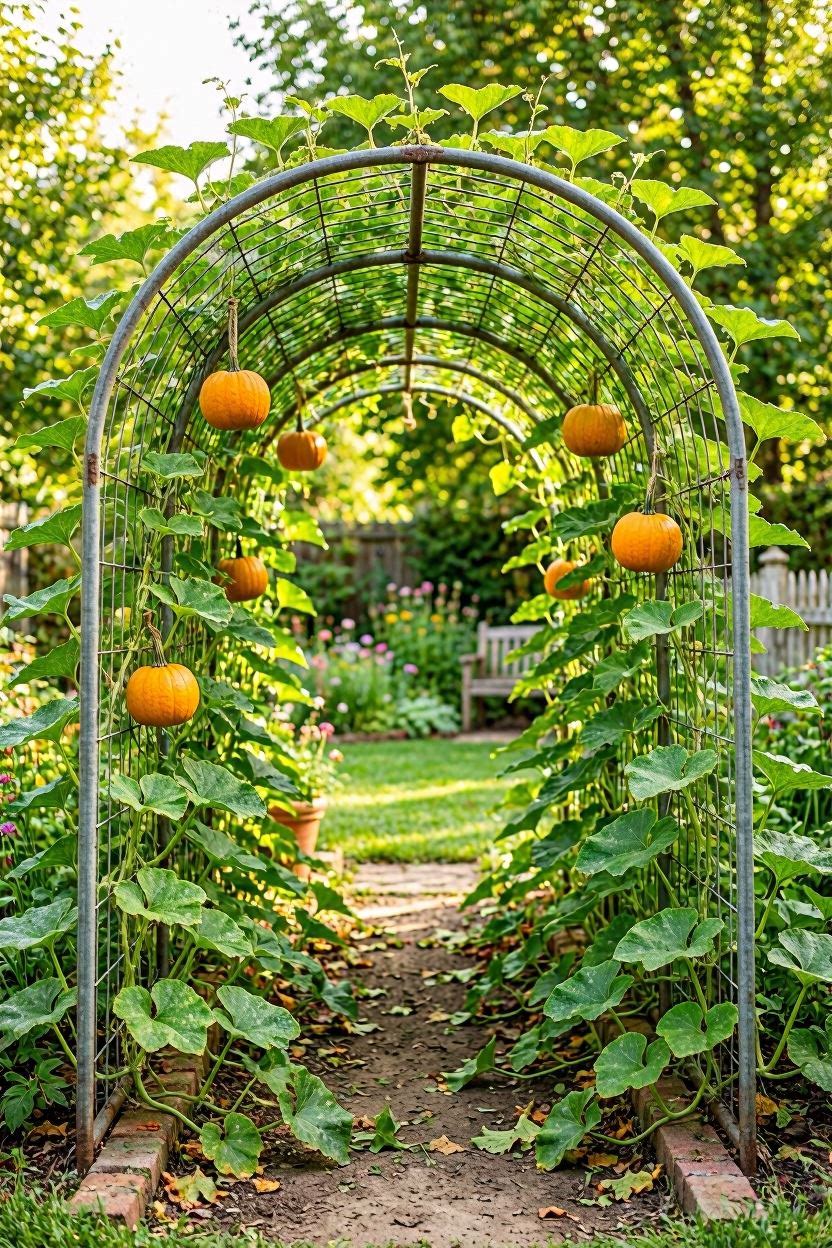
2. Cattle Panel Arch — The Show-Stopper of the Garden
| Budget: $60–$90 | Build Time: 2–3 hours (two people) | Skill Level: Beginner–Intermediate |
A cattle panel arch is the one that makes your neighbors stop and stare. A 16-foot cattle panel (about $30 at Tractor Supply) bends naturally into a beautiful arch when you push both ends into the ground about 6–7 feet apart. Anchor each end with two T-posts and you’re done.
The arch structure lets pumpkins hang freely underneath, which reduces rot and makes harvesting as easy as walking through a tunnel. I’ve grown 8-lb Sugar Pie pumpkins this way and they hang perfectly. For anything heavier than 12 lbs, use mesh slings made from old pantyhose or produce netting — it really works.
3. Wooden Garden Obelisk — Decorative and Functional
| Budget: $35–$80 (DIY) or $50–$120 (ready-made) | Build Time: 3–4 hours DIY | Skill Level: Intermediate |
If you want something that looks like it belongs in a garden magazine, build or buy a cedar obelisk. Four wooden legs meeting at a point at the top, wrapped with jute twine or chicken wire between the posts. Plant your pumpkins at the base and train the vines upward.
Cedar is the best wood choice — it resists rot naturally and smells amazing. You can find cedar 1×2s at Lowe’s for about $4–$5 each. You’ll need four 6-foot lengths and some crosspieces. A pre-made obelisk from a garden center (like Gardener’s Supply Company) runs $50–$120 and looks polished right out of the box.
Best for: mini pumpkins, gourds, Jack Be Littles.
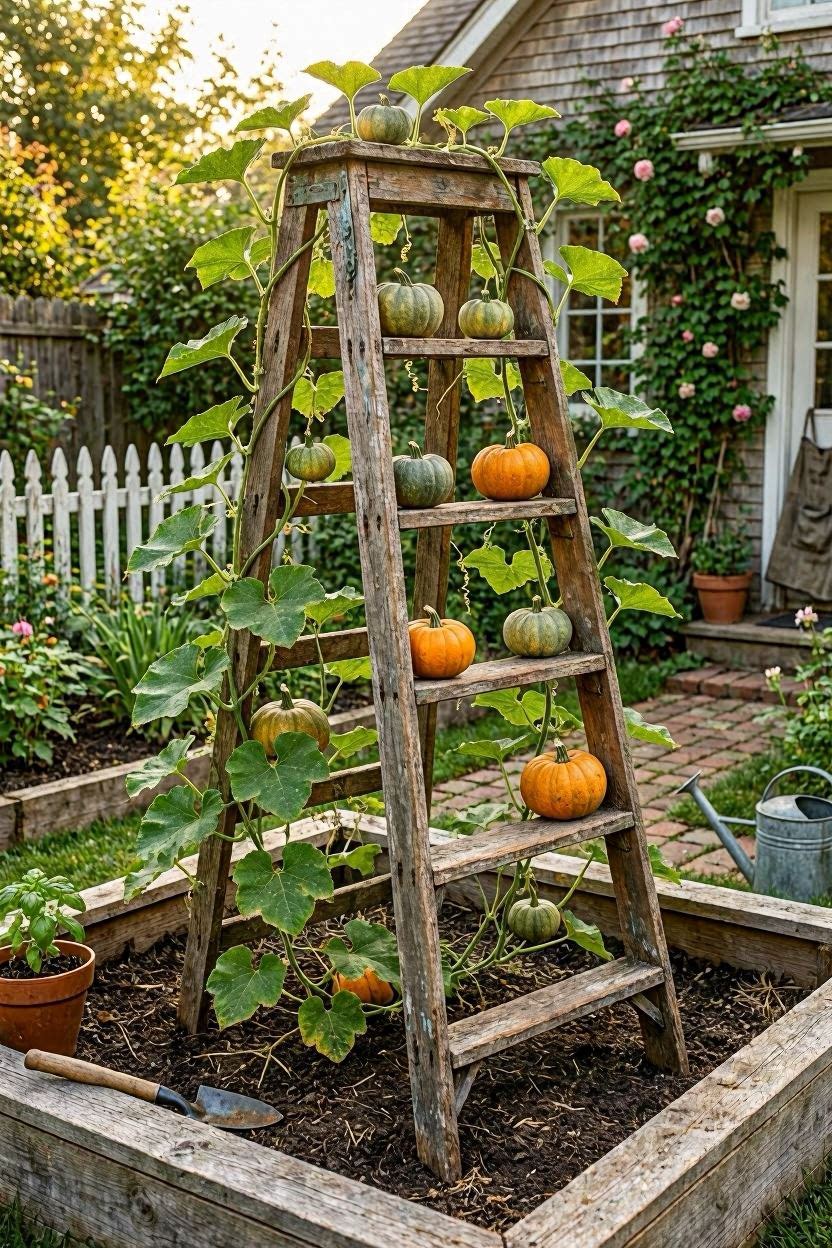
4. Repurposed Wooden Ladder — Zero Cost Trellis
| Budget: $0 (if you have an old ladder) | Build Time: 20 minutes | Skill Level: Anyone |
Got an old wooden stepladder in the garage? Stand it open in the garden, wire some horizontal jute strands between the rungs for extra grip, and plant at the base. Done in under half an hour.
The open-A design of a stepladder is naturally perfect for pumpkin vines. Just make sure it’s anchored — pound a stake next to each leg if your soil is soft. This is one of my favorite zero-cost solutions for renters or first-time gardeners who don’t want to invest before they know if they like growing pumpkins.
5. Chain-Link Fence — Use What You Already Have
| Budget: $0 (existing fence) | Build Time: 10 minutes setup | Skill Level: Anyone |
If your yard already has a chain-link fence along the perimeter, you have a free trellis. Train your pumpkin vines along the fence and weave them through the links as they grow. That’s it. The only thing you need to add is pumpkin slings for any fruit heavier than 6 lbs — old mesh produce bags or strips of pantyhose work great.
South or west-facing fences are ideal since pumpkins love full sun. This works even in very small yards — I’ve seen people grow three vines along just 8 feet of fence and pull in 10+ pumpkins in a season.
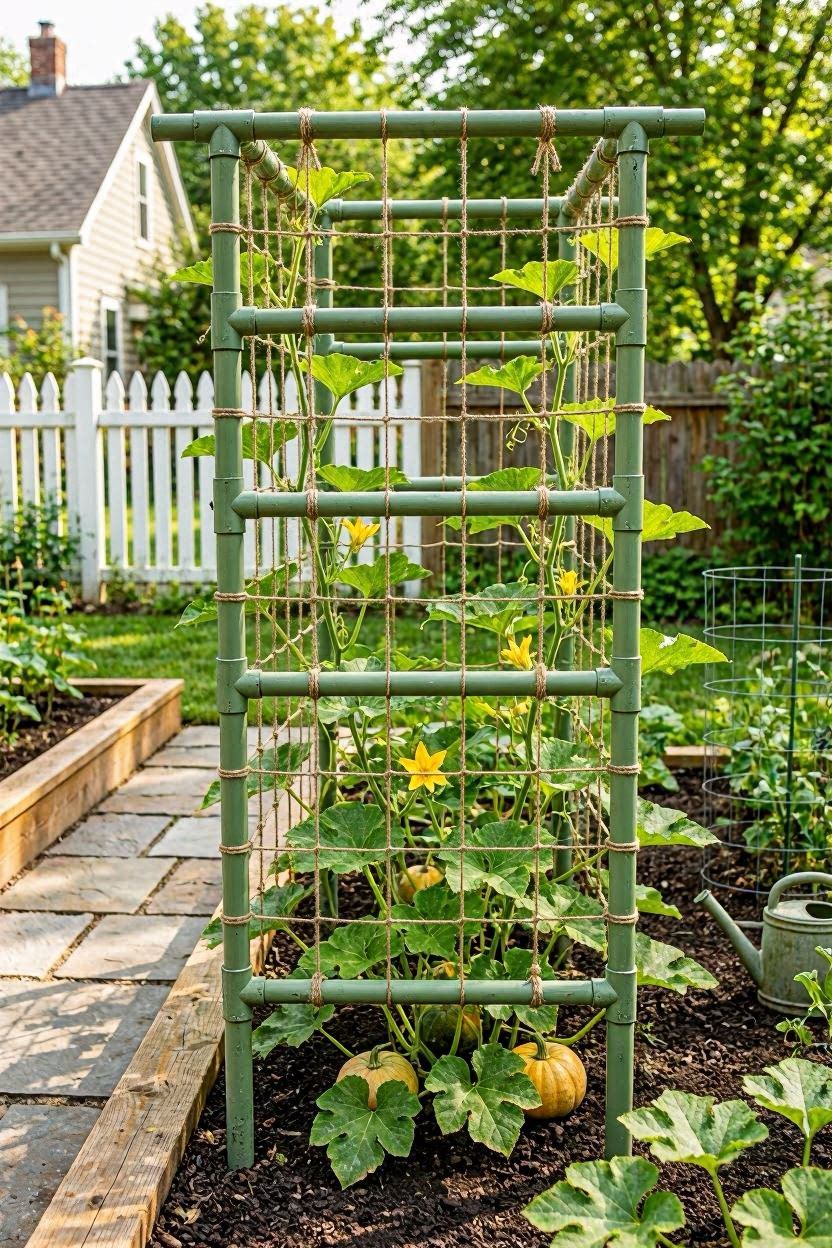
6. PVC Pipe Trellis — Lightweight and Customizable
| Budget: $25–$50 | Build Time: 1–2 hours | Skill Level: Beginner |
PVC pipe is cheap, lightweight, won’t rust, and you can build it in any shape you want. A basic flat trellis frame uses four 10-foot lengths of ¾-inch PVC (about $3 each at Home Depot), connected with elbow and T-joints ($1–$2 each), then strung with nylon twine or deer netting.
The downside is that PVC can get brittle after several years in harsh sun. For a one-or-two-season structure it’s perfect. You can spray paint it green to blend with your garden — a can of Rust-Oleum runs about $6 and helps it last longer too.
7. Bamboo Pole Teepee — Natural and Budget-Friendly
| Budget: $10–$25 | Build Time: 30–45 minutes | Skill Level: Anyone |
Six bamboo poles (6–8 feet tall), pushed into the ground in a circle and tied together at the top — that’s a teepee trellis. Wrap jute twine horizontally around the poles every 8–10 inches to give vines something to grip. Total cost is about $10–$15 if you buy bamboo in bulk at any garden center or on Amazon.
Bamboo looks beautiful and is strong enough for small to medium pumpkins. The teepee shape also creates a cool shaded “tent” underneath that you can plant with heat-sensitive herbs. One thing to know: bamboo can break down after 2–3 seasons, especially if left in wet soil over winter. Pull them out and store dry and they’ll last much longer.
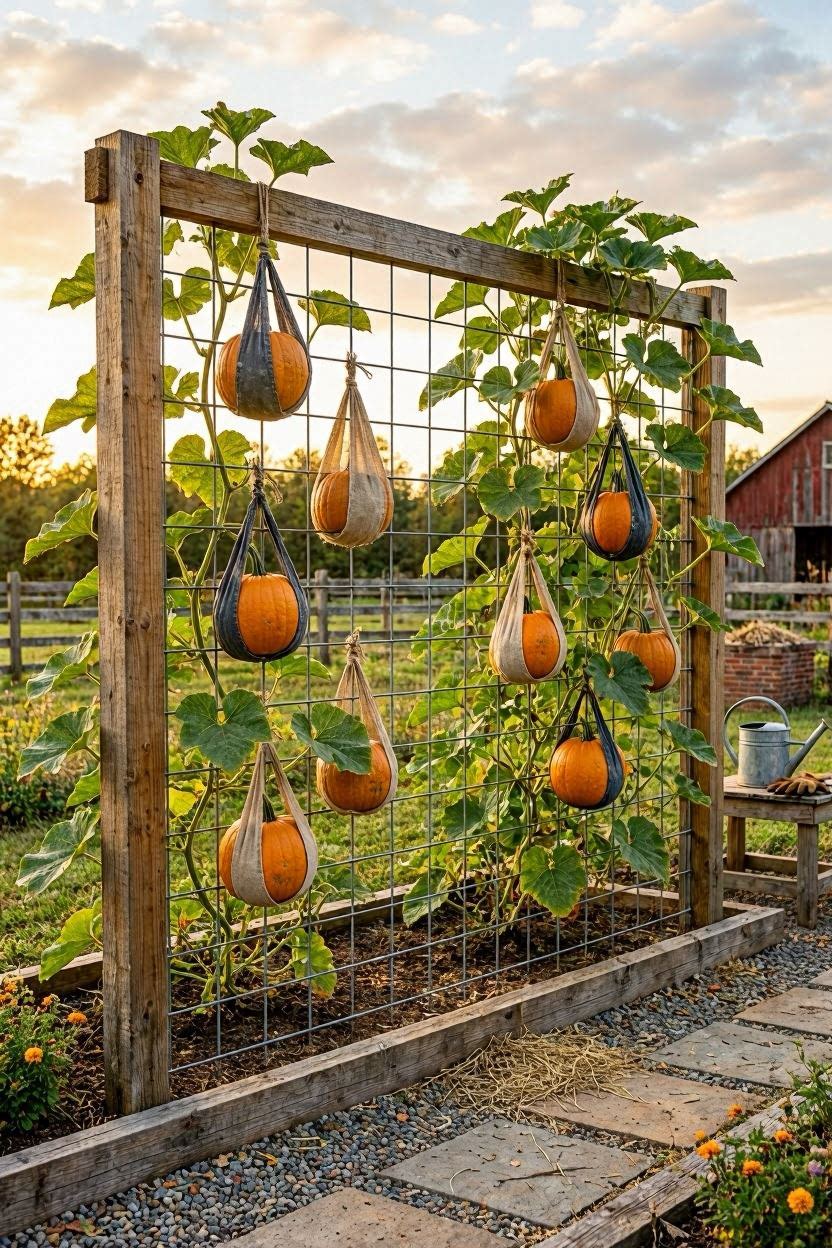
8. Hog Wire Panel Flat Trellis — Heavy-Duty Option
| Budget: $40–$70 | Build Time: 1–2 hours | Skill Level: Beginner–Intermediate |
Hog wire panels (also called livestock panels) are thicker and stronger than basic welded wire. A 4×8 ft panel, attached to two wooden 4×4 posts set 18 inches into the ground, makes an incredibly solid flat trellis that can handle larger pumpkins — up to 15–20 lbs with good sling support.
4×4 cedar posts run about $8–$12 each at Lowe’s. This is the setup I’d recommend for anyone growing Connecticut Field or medium-size carving pumpkins. It’s also reusable for 10+ years with minimal maintenance.
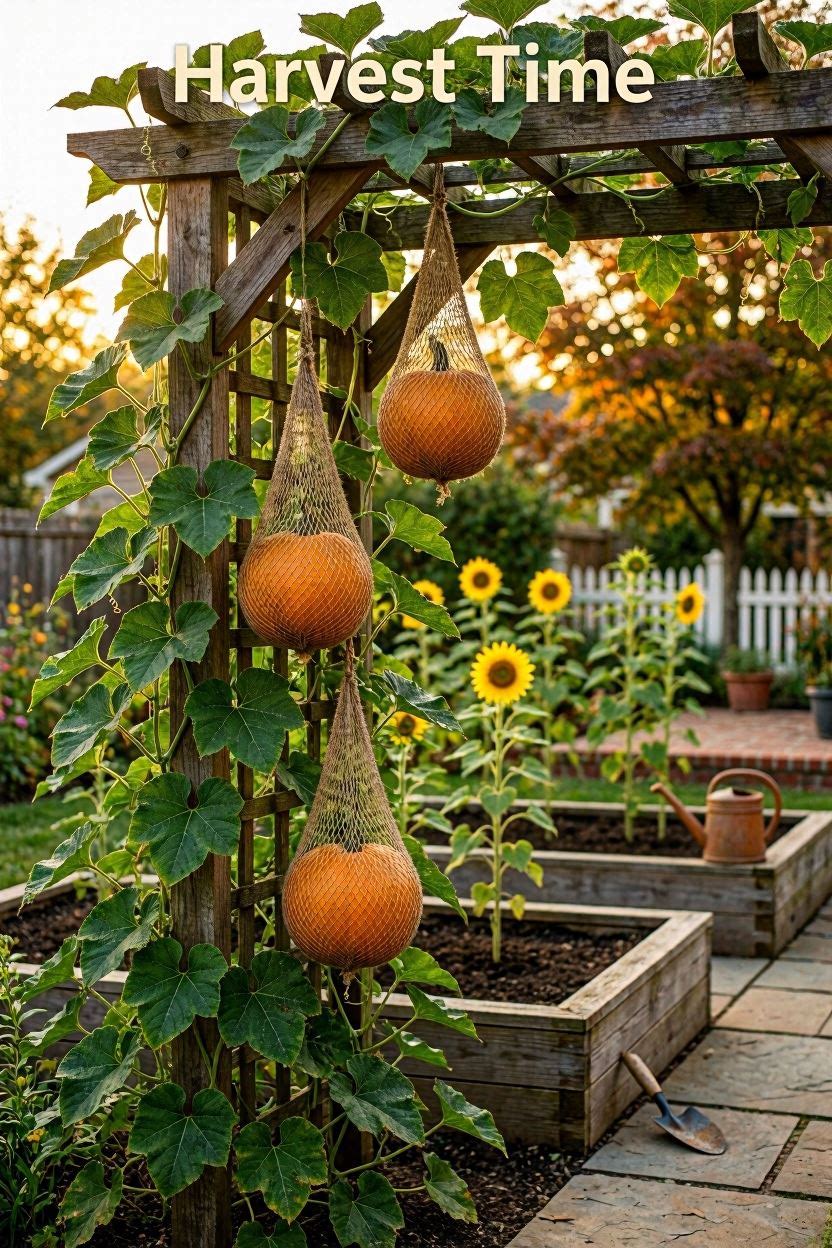
9. Pergola or Arbor Trellis — Grow Into Existing Structures
| Budget: $0 (existing structure) or $150–$400 (new build) | Build Time: Varies | Skill Level: Intermediate |
If you have a pergola or garden arbor, pumpkins will happily climb it. Train the vines up the posts and over the top. The overhead structure actually works perfectly for supporting hanging pumpkins if you attach small mesh slings to the cross beams.
This setup doubles as a stunning garden feature in fall — imagine orange pumpkins hanging from a wooden pergola with autumn leaves all around. For new builds, a basic cedar arbor kit from Home Depot or Lowe’s starts around $150–$200 and goes up from there for fancier designs.
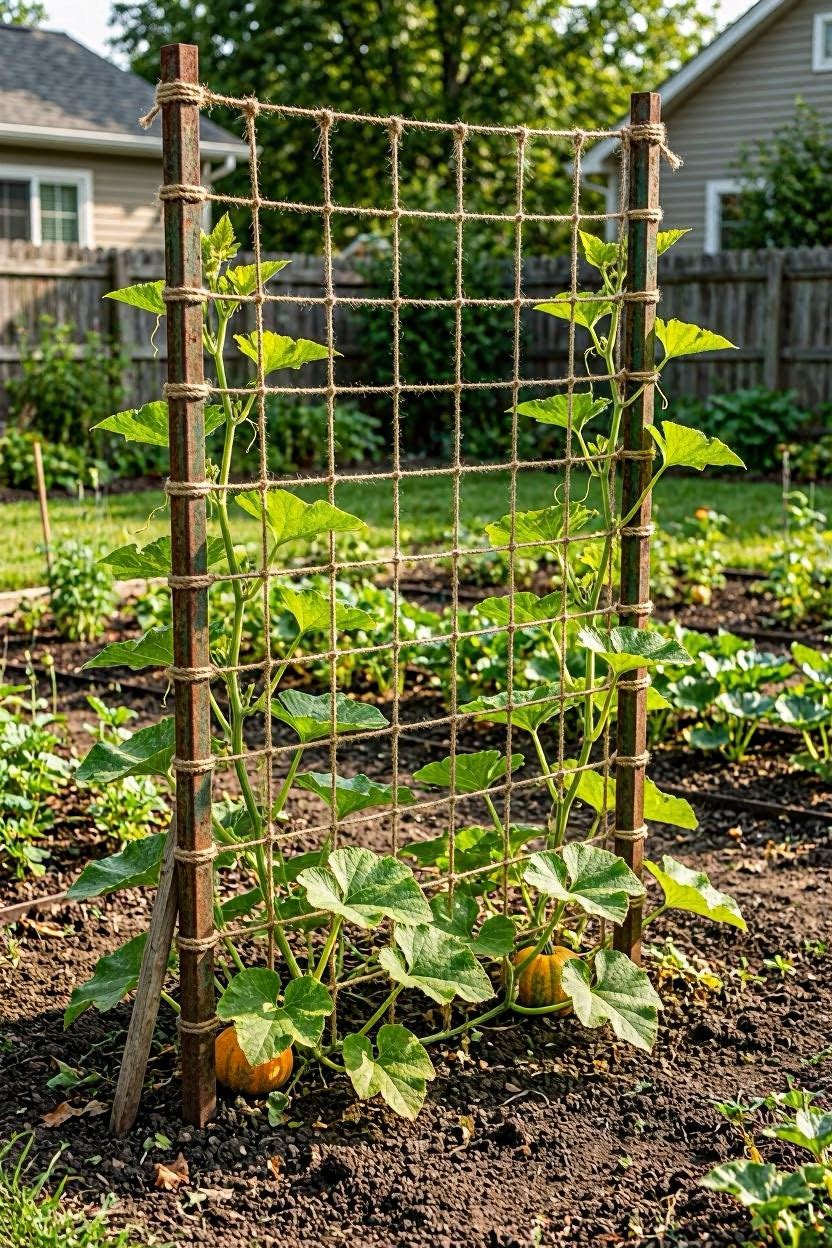
10. String Trellis on T-Posts — Fastest and Cheapest Grid
| Budget: $15–$30 | Build Time: 30–45 minutes | Skill Level: Anyone |
Two metal T-posts pounded into the ground 6 feet apart, with heavy-duty jute or sisal twine run horizontally between them in a grid pattern. Space the horizontal lines about 8 inches apart. That’s a string trellis — fast, cheap, and surprisingly effective for one season.
T-posts cost about $5–$7 each at farm supply stores. A 100-ft roll of jute twine runs under $10. This is my go-to suggestion for people who want to test vertical growing before committing to a permanent structure. It won’t last more than 1–2 seasons but gets the job done.
11. Raised Bed with Built-In Trellis — The All-In-One Setup
| Budget: $80–$180 (bed + trellis combined) | Build Time: 1 day | Skill Level: Intermediate |
Building a raised bed with a trellis frame attached to the back is one of the cleanest, most functional setups you can create. The bed handles your soil situation (great for clay-heavy yards), and the attached trellis — typically a hog wire panel bolted to the back two posts of the bed — gives you instant vertical space.
Dimensions that work well: bed at 4×8 ft, trellis frame at 6 ft tall behind it. Use cedar 2×6s for the bed walls (naturally rot-resistant) and 4×4 cedar posts for the trellis uprights. This type of combined setup is popular in Pacific Northwest and Midwest gardening communities and is showing up all over garden design social media right now.

12. Metal Conduit Trellis — Professional and Long-Lasting
| Budget: $50–$100 | Build Time: 2–3 hours | Skill Level: Intermediate |
EMT conduit (electrical metallic tubing) from any hardware store is incredibly strong, relatively inexpensive, and you can bend it into shape with a cheap conduit bender. A 10-foot length costs about $8–$12, and you can build a full 6-foot trellis frame for under $80.
Connect horizontal pieces with conduit hangers or zip ties, and string with UV-resistant nylon twine for the vine surface. This is the most weather-durable DIY trellis on this list — it won’t rot, won’t rust easily (especially if you spray with cold galvanizing compound), and can stand up to high winds better than wood. Build it once and you’re gardening on it for 15+ years.
Pumpkin Variety Guide — Which Works on Which Trellis
| Pumpkin Variety | Avg Weight | Best Trellis Types | Needs Sling? |
|---|---|---|---|
| Jack Be Little | 0.25–0.5 lbs | Any | No |
| Sugar Pie | 5–8 lbs | A-Frame, Arch, String | Optional |
| Baby Boo | 0.5–1 lb | Any | No |
| Connecticut Field | 10–25 lbs | Hog Wire, Conduit, Cattle Panel | Yes |
| Cinderella | 15–35 lbs | Heavy structures only | Yes — strong sling |
| Howden | 10–20 lbs | Hog Wire, Conduit | Yes |
How to Make a Pumpkin Sling (Takes 5 Minutes)
For any pumpkin over 6 lbs, you need a sling or the fruit weight will snap the vine. Here’s what works:
- Cut a foot of old pantyhose, mesh produce bag, or stretchy fabric
- Slide the pumpkin into the sling while it’s small (baseball size)
- Tie each end of the sling to a sturdy part of your trellis
- Check it weekly as the fruit grows — retie if the material stretches too tight
That’s it. No special products needed.
Budget Comparison at a Glance
| Trellis Type | Estimated Cost | Seasons It Lasts |
|---|---|---|
| Old wooden ladder | $0 | 1–2 |
| String on T-posts | $15–$30 | 1 |
| Bamboo teepee | $10–$25 | 2–3 |
| PVC frame | $25–$50 | 2–4 |
| A-Frame wire | $30–$45 | 3–5 |
| Cattle panel arch | $60–$90 | 8–10 |
| Hog wire flat panel | $40–$70 | 10+ |
| Metal conduit | $50–$100 | 15+ |
| Raised bed + trellis | $80–$180 | 10+ |
| Cedar arbor/pergola | $150–$400 | 15–20 |
FAQ
Can pumpkins really support their own weight on a trellis? Small varieties (under 5–6 lbs) handle it fine. Anything larger needs a sling. The vine is strong but not designed to hold mature fruit weight long-term.
How deep do trellis posts need to go? At least 18 inches for a 6-foot trellis. Add 6 inches for every additional foot of height. Rocky or sandy soil? Go deeper or use concrete in the post holes.
When should I start training vines onto the trellis? Start when the vine is 12–18 inches long. Gently weave it through the trellis openings every few days. Don’t force it — pumpkin vines break easily when young.
Can I grow pumpkins in containers with a trellis? Yes, for mini varieties only. Use at least a 15-gallon container and a lightweight bamboo or PVC trellis anchored to the pot. You’ll need to water every 1–2 days in hot weather.
What’s the minimum sunlight needed? Pumpkins need at least 6 hours of direct sun daily. 8 hours is better. Place your trellis on the south or west side of the garden for best results.
Final Thoughts
Growing pumpkins vertically changed how I use my garden space. I went from losing half my yard to sprawling vines to growing 14 pumpkins in a 4×10 ft strip along my back fence. The trellis does the work — you just have to pick the right one for your space and budget.
If you’re a first-timer, start with the string trellis or the A-frame. Spend under $40, see how your vines behave, and upgrade to a cattle panel arch or cedar pergola once you’re hooked. And you will be hooked.
Pick your materials, drive your posts, and plant your seeds. The rest takes care of itself.
Found this helpful? Save it to your Pinterest garden board and share with a fellow gardener!