15 Stunning Shade Garden Layout Ideas That Actually Work (Step-by-Step Guide)
Introduction
You have a shady spot in your yard and you don’t know what to do with it. Most people just leave it bare or toss down some mulch and forget about it.
Here’s the thing — shade gardens can be some of the most beautiful spaces in your entire yard. You just need the right plants, the right layout, and a simple plan to follow.
This guide walks you through everything step by step. No fancy tools needed. No landscape degree required.
Section 1: Understanding Your Shade Before You Start
1.1 What Type of Shade Do You Have?
Not all shade is the same. Before you buy a single plant, figure out which kind you’re working with.
| Shade Type | What It Means | Best For |
|---|---|---|
| Full Shade | Less than 2 hrs of sun/day | Ferns, Astilbe, Hellebores |
| Part Shade | 2–4 hrs of sun/day | Hostas, Coral Bells, Bleeding Heart |
| Dappled Shade | Filtered light through tree canopy | Most shade plants thrive here |
| Deep Shade | Under dense evergreens, no direct sun | Limited options — focus on texture |
How to test your shade: Go outside at 9am, noon, and 3pm. Note where the sun hits. If a spot gets sun at none of those times, it’s full shade.
1.2 Check Your Soil First
Shade gardens under trees compete for water and nutrients. This is the most overlooked step beginners skip — and it’s why plants die.
Quick soil check:
- Dig down 6 inches. If it’s dry and full of roots, you’ll need to amend with compost.
- Add 2–3 inches of compost before planting. A 40-lb bag from Home Depot runs about $8–$10.
- Avoid piling mulch right against plant stems.
Section 2: Choosing the Right Layout Style
2.1 The Three Main Shade Garden Layouts
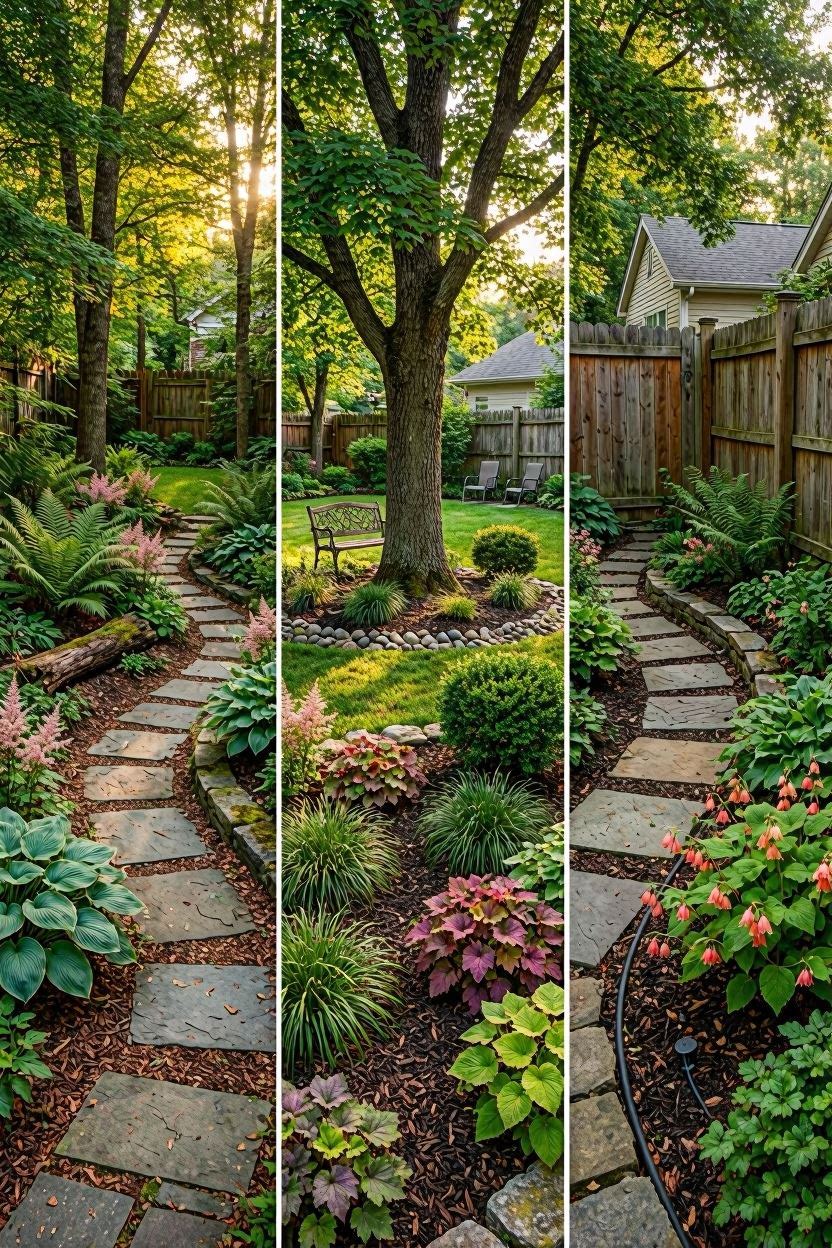
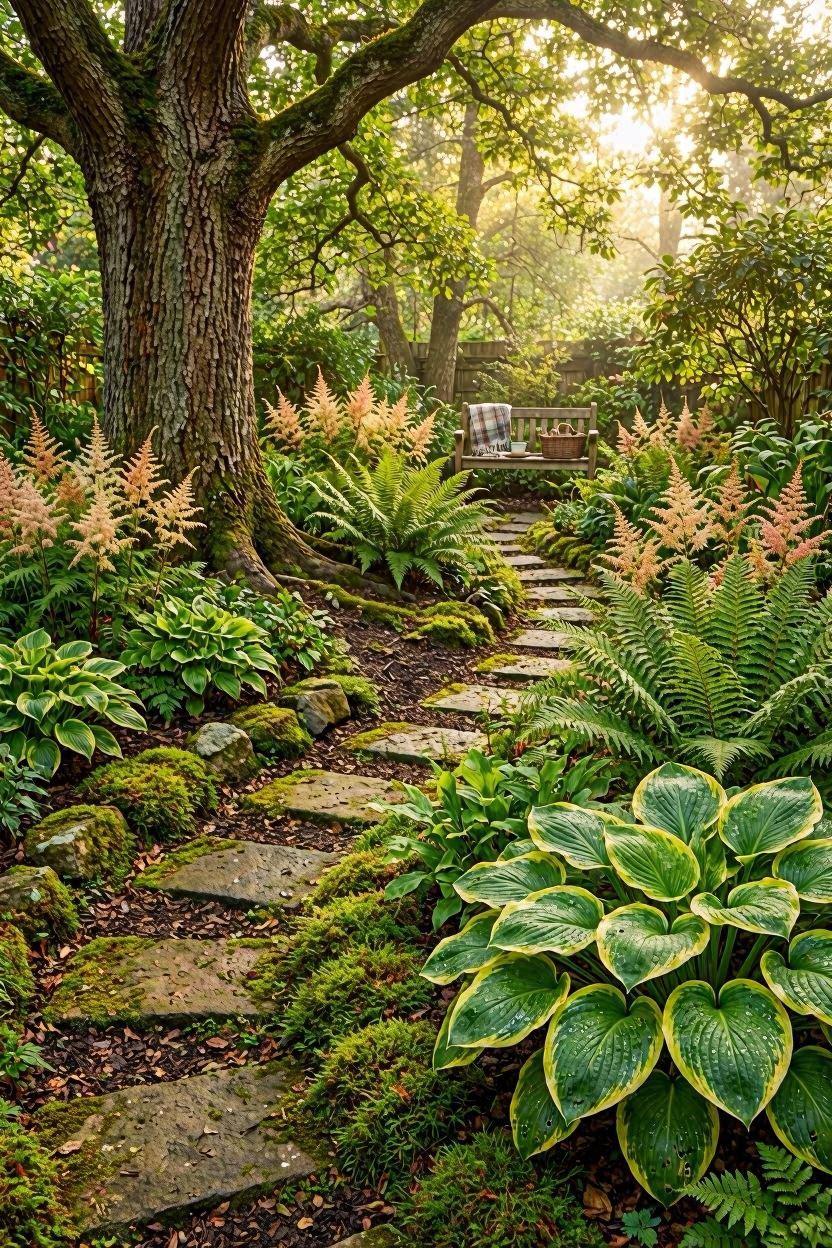
Layout 1 — The Woodland Path Style Best for: Backyards with trees, natural or rustic aesthetic How it works: Wind a simple mulched path through your planted area. Place taller plants at the back, medium in the middle, low groundcovers at the edges. This gives depth and makes the space feel intentional.
Layout 2 — The Island Bed Best for: A single shade tree in your lawn How it works: Create a rounded bed around the tree trunk starting at least 2 feet out from the base. Layer plants outward — tallest nearest the trunk, shortest at the lawn edge. Clean it up with a simple plastic lawn edging ($15–$20 at Lowe’s).
Layout 3 — The Shady Border Best for: Along a fence, wall, or house foundation that doesn’t get sun How it works: Run a 3–5 foot wide planting strip along the structure. Use the back-to-front layering method and repeat the same plant variety every few feet for a cohesive look.
2.2 The Layering Rule (The Most Important Concept)
Think of your shade garden in three layers — just like a real forest:
- Top Layer — Tall plants (3+ feet): Astilbe, Japanese Forest Grass, Toad Lily
- Middle Layer — Medium plants (1–3 feet): Hostas, Coral Bells, Ferns
- Ground Layer — Low spreaders (under 1 foot): Ajuga, Sweet Woodruff, Creeping Jenny
This layering is what makes a shade garden look lush and full instead of random.
Section 3: Step-by-Step — How to Design Your Shade Garden Layout
Step 1: Measure and Sketch Your Space
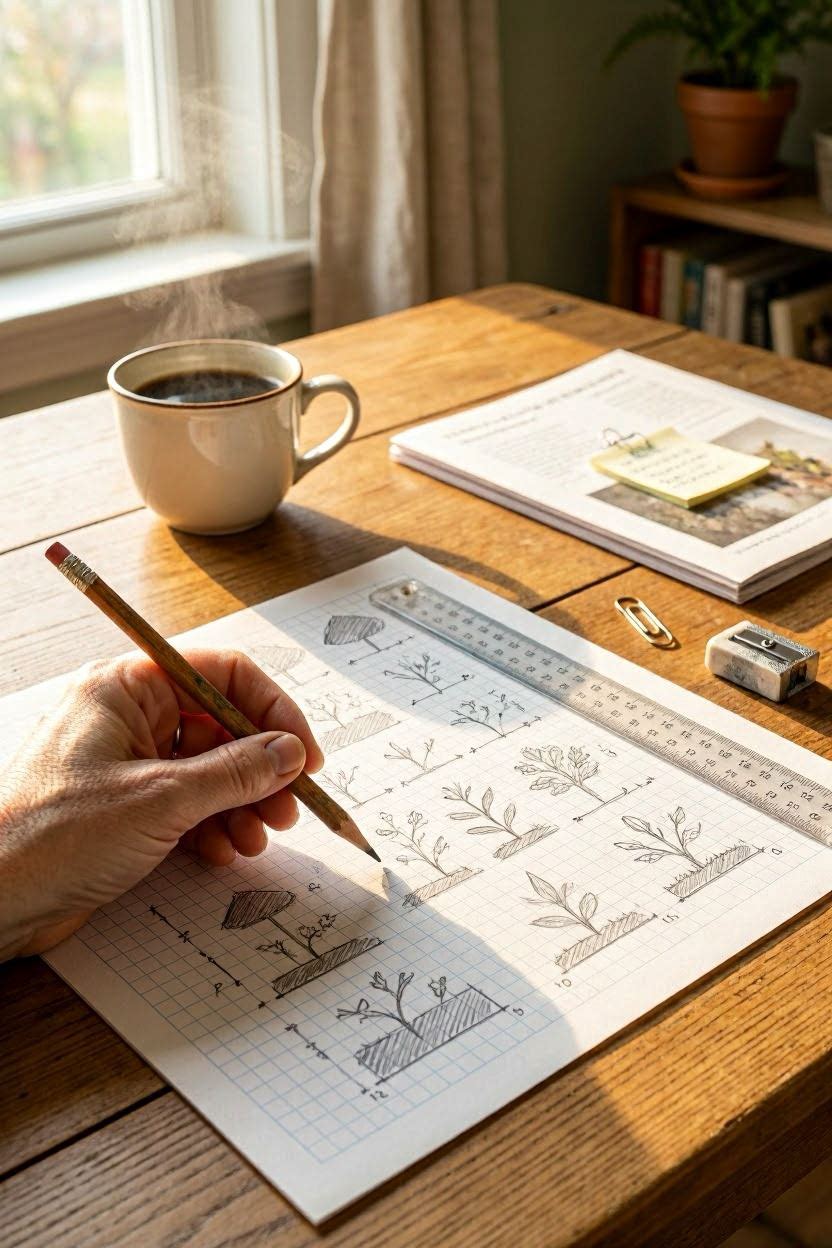
You don’t need landscape software. A piece of graph paper works perfectly.
- Measure the length and width of your shady area (use a tape measure)
- Let 1 square on paper = 1 foot of space
- Mark where the sun comes from, where the tree trunks are, and any existing structures
- Draw your three zones: back, middle, front
Pro tip: Take a photo of the space from an upstairs window if you have one. This bird’s eye view helps you see the shape clearly.
Step 2: Pick Your Anchor Plants First
Anchor plants are your biggest, most dramatic plants. Pick one or two varieties max. These set the tone for everything else.
Top anchor plants for US shade gardens:
| Plant | Height | USDA Zones | Avg. Cost | Where to Buy |
|---|---|---|---|---|
| Hosta (Empress Wu) | 4–5 ft | 3–8 | $18–$30 | Home Depot, Wayfair |
| Japanese Fern Tree | 2–3 ft | 5–9 | $15–$22 | Proven Winners, local nurseries |
| Astilbe (Red Sentinel) | 3–4 ft | 4–9 | $10–$18 | Lowe’s, Burpee |
| Ligularia | 3–4 ft | 4–8 | $14–$20 | Monrovia, local nurseries |
Step 3: Fill in the Middle Layer
Once your anchor plants are placed (even just on paper), fill around them with medium plants. These are your color and texture carriers.
Best middle-layer plants:
- Coral Bells (Heuchera) — burgundy, lime, or caramel foliage, $8–$14 each at most garden centers
- Bleeding Heart — elegant drooping pink/white flowers, great for spring, $10–$16
- Solomon’s Seal — arching stems with white bells, very low maintenance, $12–$18
- Lungwort (Pulmonaria) — spotted leaves, blue/pink flowers, spreads nicely, $9–$14
Spacing rule: Give middle-layer plants 18–24 inches between each other. They’ll fill in within 1–2 seasons.
Step 4: Add Ground Cover to Finish the Edges

Ground covers do two things: they fill bare soil (so weeds can’t move in) and they soften the edge of your garden so it looks finished.
Best shade-tolerant ground covers:
| Plant | Spread | Sun Need | Cost per Flat | Bonus |
|---|---|---|---|---|
| Ajuga (Bugleweed) | 12–18 in | Full to part shade | $25–$35 | Purple flower spikes in spring |
| Sweet Woodruff | 12 in | Part to full shade | $8–$12/pot | Smells like hay, spreads fast |
| Creeping Jenny | 18–24 in | Part shade | $6–$10/pot | Bright chartreuse color |
| Wild Ginger | 6–12 in | Full shade | $10–$15/pot | Native, deer resistant |
Step 5: Define Your Edges
A clean edge makes any garden look 10x more polished. You have a few options:
- Steel edging — Clean, modern look. About $25–$40 for 20 feet at Home Depot
- Plastic lawn edging — Most affordable, $10–$15 for 20 feet, great for curves
- Natural stone border — Stack flat stones 2–3 inches high. Free if you have stones, or $50–$150 for a bag of fieldstone
- No-dig edging with a spade — Simply cut a 3-inch deep edge and maintain it seasonally. Costs nothing.
Step 6: Mulch It Properly
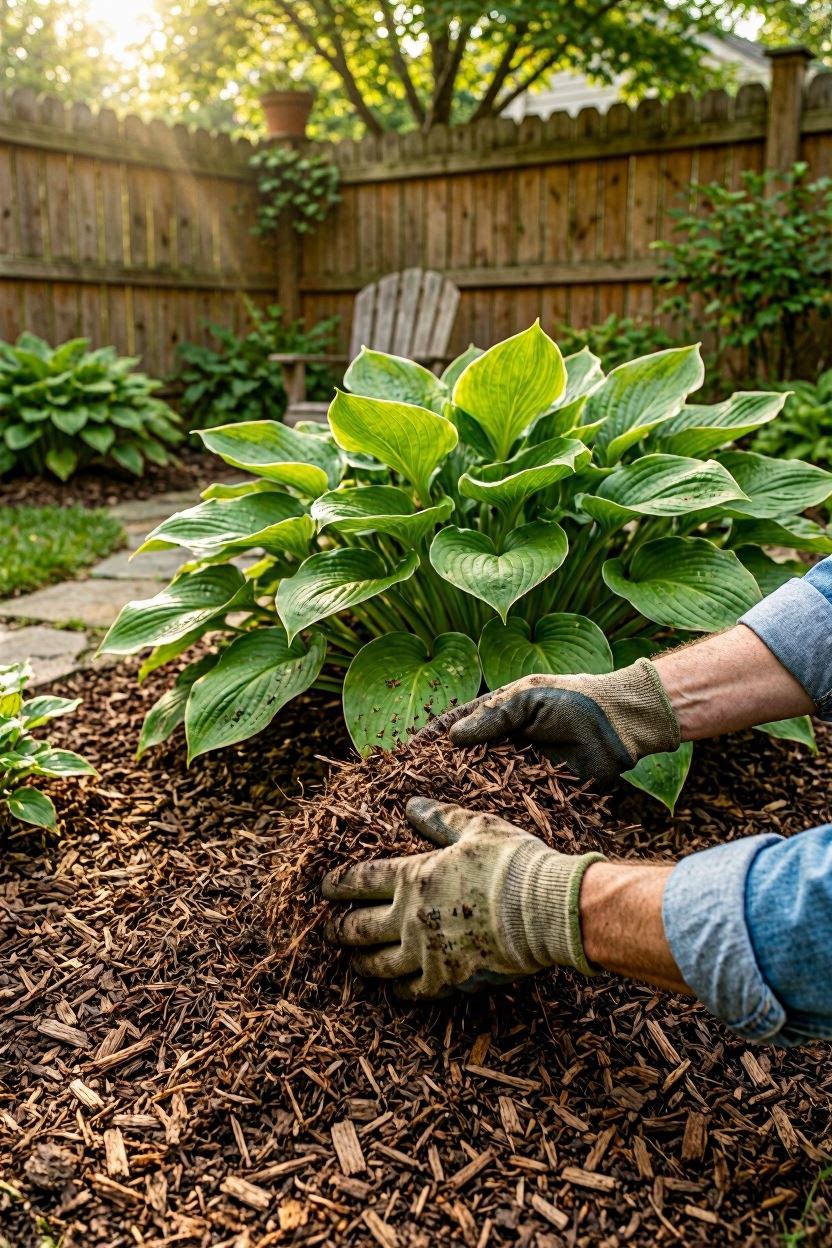
Mulch is not optional in a shade garden. It holds moisture, regulates soil temperature, and suppresses weeds.
Mulch guide for shade gardens:
| Mulch Type | Depth | Best For | Cost (per cubic yard) |
|---|---|---|---|
| Shredded hardwood bark | 2–3 inches | Most shade gardens | $35–$55 |
| Pine bark nuggets | 2–3 inches | Under acid-loving plants | $40–$60 |
| Leaf mold (composted leaves) | 2–3 inches | Improving heavy clay soil | Free (DIY) or $30–$50 |
| Cedar mulch | 2 inches | Repels some insects | $45–$65 |
Never pile mulch against stems or trunks. Leave a 2-inch gap. This prevents rot and keeps pests away.
Section 4: Adding Character to Your Shade Garden
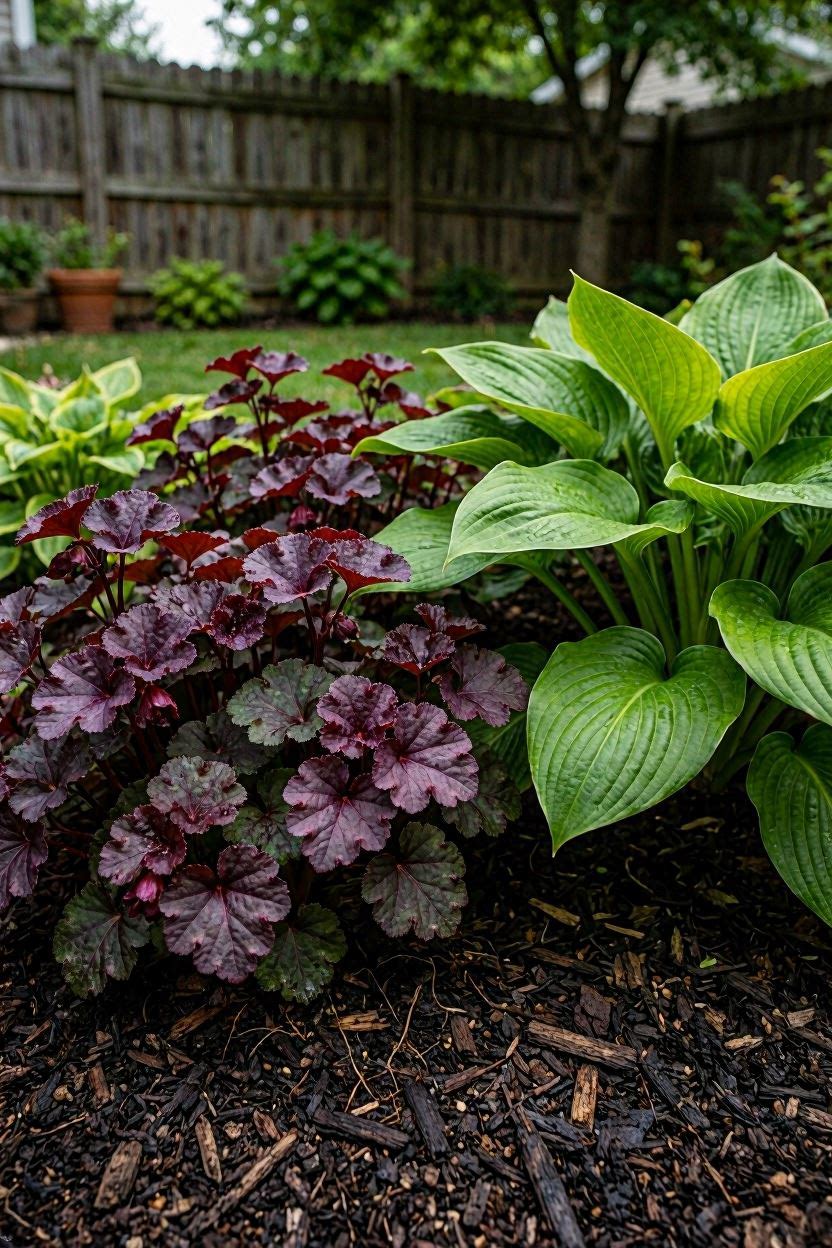
4.1 Use Contrast in Foliage
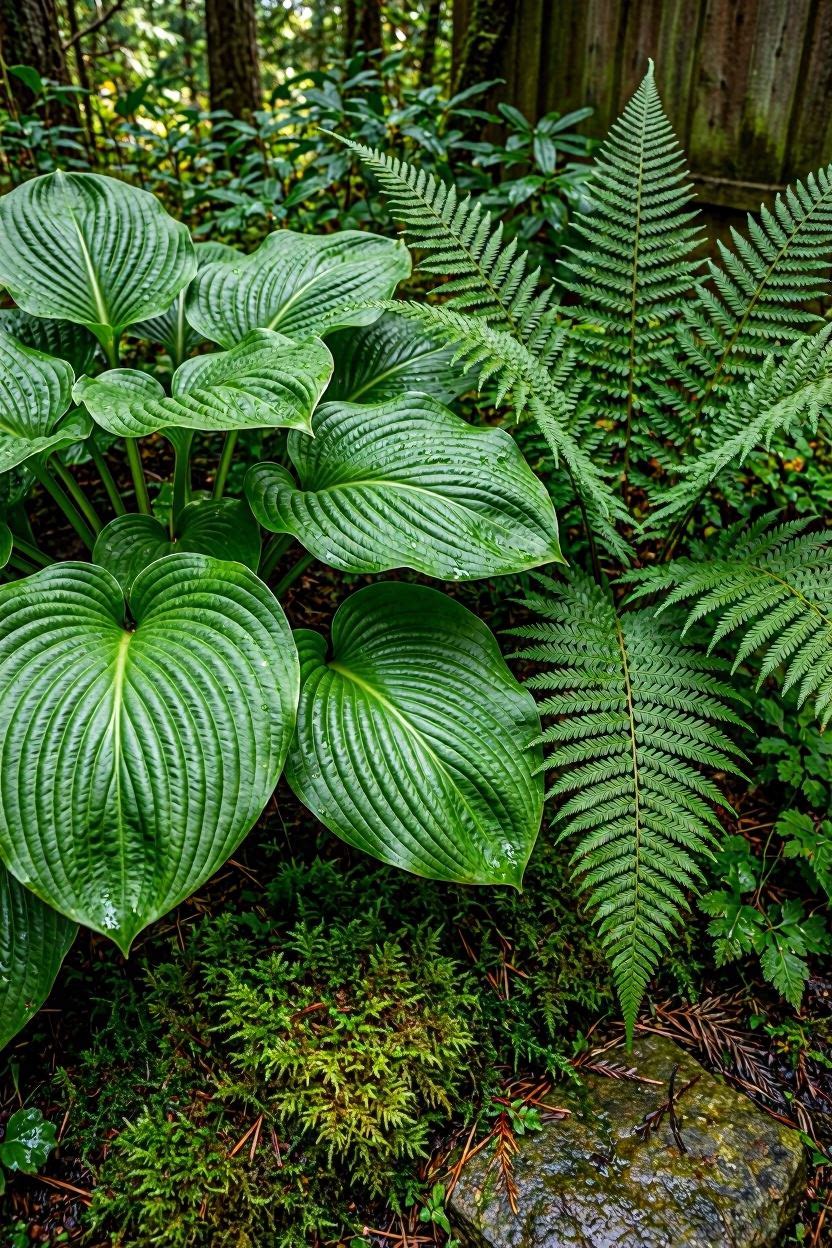
Flowers come and go, but foliage is there all season. The secret to a shade garden that looks amazing even without flowers is contrast — mixing leaf shapes, sizes, and colors.
Contrast combinations that work:
- Large hosta leaves + lacy fern fronds
- Dark burgundy coral bells + bright chartreuse creeping jenny
- Narrow Japanese forest grass + wide Solomon’s seal leaves
- Glossy galax leaves + matte textured lungwort
The rule: For every broad leaf plant, place a fine-textured plant nearby.
4.2 Add Hardscape Elements
You don’t need to fill every inch with plants. A few hardscape pieces make the space feel like a real garden room.
Simple shade garden hardscape ideas:
- Stepping stones — Flat stones or concrete pavers laid through the bed, $2–$8 each at Home Depot
- A simple bench — Even a $40–$80 cedar bench from Target or Walmart transforms a space into a destination
- A birdbath — Shade gardens attract birds naturally. A concrete birdbath runs $30–$80
- Garden art or sculpture — A single piece anchors the eye. Look for cast iron animals or stone spheres at TJ Maxx or HomeGoods for $20–$60
4.3 Light It Up for Evening Appeal
Low-voltage solar path lights or string lights strung between trees cost $20–$50 and make your shade garden usable in the evening. Look for warm white LEDs — they mimic moonlight and look much more natural than cool-blue tones.
Section 5: Seasonal Maintenance — Keeping It Looking Good
5.1 Spring Tasks
- Cut back dead foliage from last year before new growth emerges
- Add a fresh 1-inch layer of compost
- Divide overcrowded hostas and ferns — free plants for other spots
- Check for slugs, which love damp shade conditions (use iron phosphate bait, safe around pets)
5.2 Summer Tasks
- Water deeply once a week if rain is less than 1 inch
- Pull weeds before they set seed
- Deadhead spent blooms on astilbe and coral bells to keep them tidy
5.3 Fall Tasks
- Leave fern fronds and hosta leaves in place until hard frost — they protect the crown
- Plant spring bulbs (like snowdrops or bluebells) among your shade plants now for spring color
- Top up mulch to 3 inches before ground freezes
5.4 Winter
- Most shade perennials are hardy and need nothing from you
- If you have container plants, move them to a sheltered spot or unheated garage
Section 6: Budget Breakdown — What a Shade Garden Actually Costs
| Item | Budget Option | Mid-Range | What to Expect |
|---|---|---|---|
| Plants (per 100 sq ft) | $60–$100 | $150–$250 | 8–12 plants for a starter bed |
| Compost/soil amendment | $15–$25 | $30–$50 | 2 bags compost + perlite |
| Mulch | $20–$35 | $50–$80 | 2 cubic yards covers ~100 sq ft at 3 in |
| Edging | $10–$15 | $30–$60 | Plastic vs. steel |
| Tools (if needed) | $30–$50 | $80–$120 | Trowel, hand fork, edger |
| Total (100 sq ft) | $135–$225 | $340–$560 | Spread over 1–2 weekends |
FAQ
Can I grow vegetables in a shade garden? Most vegetables need full sun. Leafy greens like lettuce, spinach, and kale can handle part shade (3–4 hours of sun). Root vegetables and fruiting plants generally won’t perform well in shade.
How long does it take for a shade garden to fill in? Most perennial shade plants follow the old rule: “Sleep, creep, leap.” Year one they settle in, year two they spread, year three they look full. Be patient — avoid the temptation to over-plant.
My tree roots keep killing my plants. What should I do? Avoid digging deep into the soil near tree roots. Instead, build up — add 2–3 inches of good compost on top of the soil surface and plant into that layer. Choose shallow-rooted plants like ajuga, sweet woodruff, and impatiens.
Do deer eat shade garden plants? Some. Hostas are like candy to deer. If deer are a problem in your area, choose deer-resistant plants: ferns, astilbe, bleeding heart, hellebores, and lamium are all generally avoided.
Can I start a shade garden in summer? Yes, but you’ll need to water more frequently until plants establish (usually 4–6 weeks). Fall is actually the best time to plant — cooler temperatures reduce stress on new plants.
Final Thoughts
A shady corner doesn’t have to be a problem. With the right layout, the right plants, and a little patience, it can become the most peaceful and interesting part of your whole yard.
Start small — even a 4x6 foot bed with three types of plants is a real garden. Get those established, see what you love, then expand from there.
The plants on this list are widely available at Home Depot, Lowe’s, and local garden centers across the US, and most cost under $20 each. You don’t need a big budget to get started.
Pick your layout style, sketch it on paper, and go from there. Your shade garden is waiting.