15 Best Pea Trellis Ideas That Actually Work in Any Backyard Garden
Why Your Peas Need a Trellis
Peas are natural climbers. Without support, they fall over, rot on the ground, and produce far less. A good trellis keeps your plants upright, lets air circulate, and makes picking easy. The good news — you don’t need to spend a lot. Most of these ideas cost under $30 and take less than an hour to set up.
This guide covers 15 practical pea trellis ideas, what materials to use, how to build each one step by step, and what they cost at stores like Home Depot, Lowe’s, or Amazon.
Section 1: Understanding What Peas Need From a Trellis
Before picking a style, know these basics:
| Pea Type | Vine Height | Trellis Height Needed |
|---|---|---|
| Dwarf / Bush Peas | 1–2 ft | 2 ft |
| Snow Peas | 3–5 ft | 4–5 ft |
| Sugar Snap Peas | 5–8 ft | 6–8 ft |
| Shelling Peas | 3–6 ft | 4–6 ft |
Peas grab onto things using thin tendrils. They do best with thin supports — twine, wire mesh, netting, or branches. Thick wood boards alone won’t work unless you add string or mesh.
Section 2: Materials Comparison — What to Use
| Material | Cost | Lifespan | Best For |
|---|---|---|---|
| Bamboo poles | $5–$15 | 2–3 seasons | Teepees, A-frames |
| Garden netting | $8–$20 | 1–2 seasons | Any frame style |
| Cattle panel | $25–$35 | 10+ years | Arched tunnels |
| Jute twine | $4–$8 | 1 season | Horizontal string trellises |
| T-posts + wire | $15–$25 | 10+ years | Long row trellises |
| PVC pipe | $10–$20 | 5–8 years | Custom frames |
| Wood stakes | $6–$12 | 3–5 years | Simple flat trellises |
Section 3: 15 Pea Trellis Ideas Step by Step
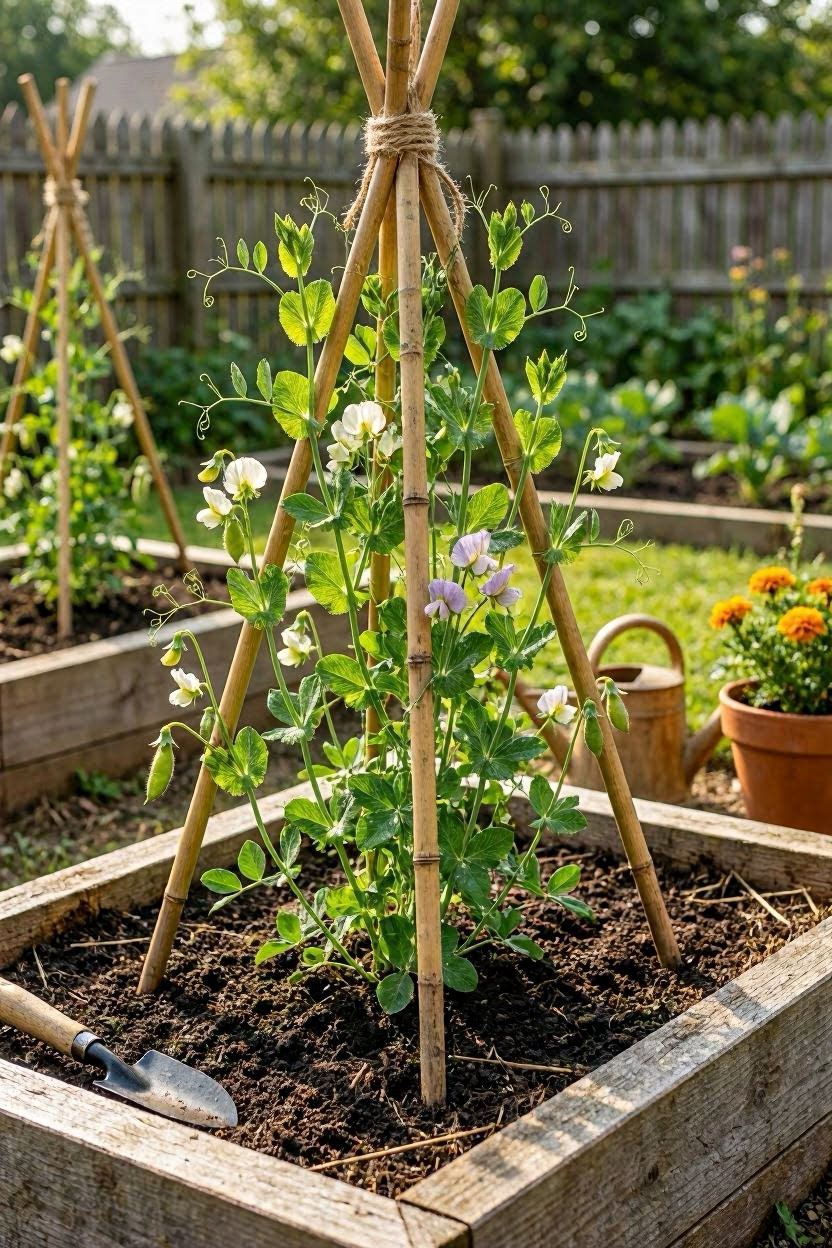
3.1 — Bamboo Teepee Trellis
Best for: Small gardens, containers, raised beds Cost: Under $10 Time: 20 minutes
What you need:
- 6–8 bamboo poles (6 ft tall, $5–$10 at Home Depot)
- Jute twine
Steps:
- Push 6 poles into the soil in a circle about 18 inches wide.
- Lean all poles inward so the tops touch.
- Wrap twine tightly around the top 3–4 times and knot it.
- Wind twine in a spiral downward, wrapping each pole as you go.
- Stop 12 inches from the ground — this is where peas will start climbing.
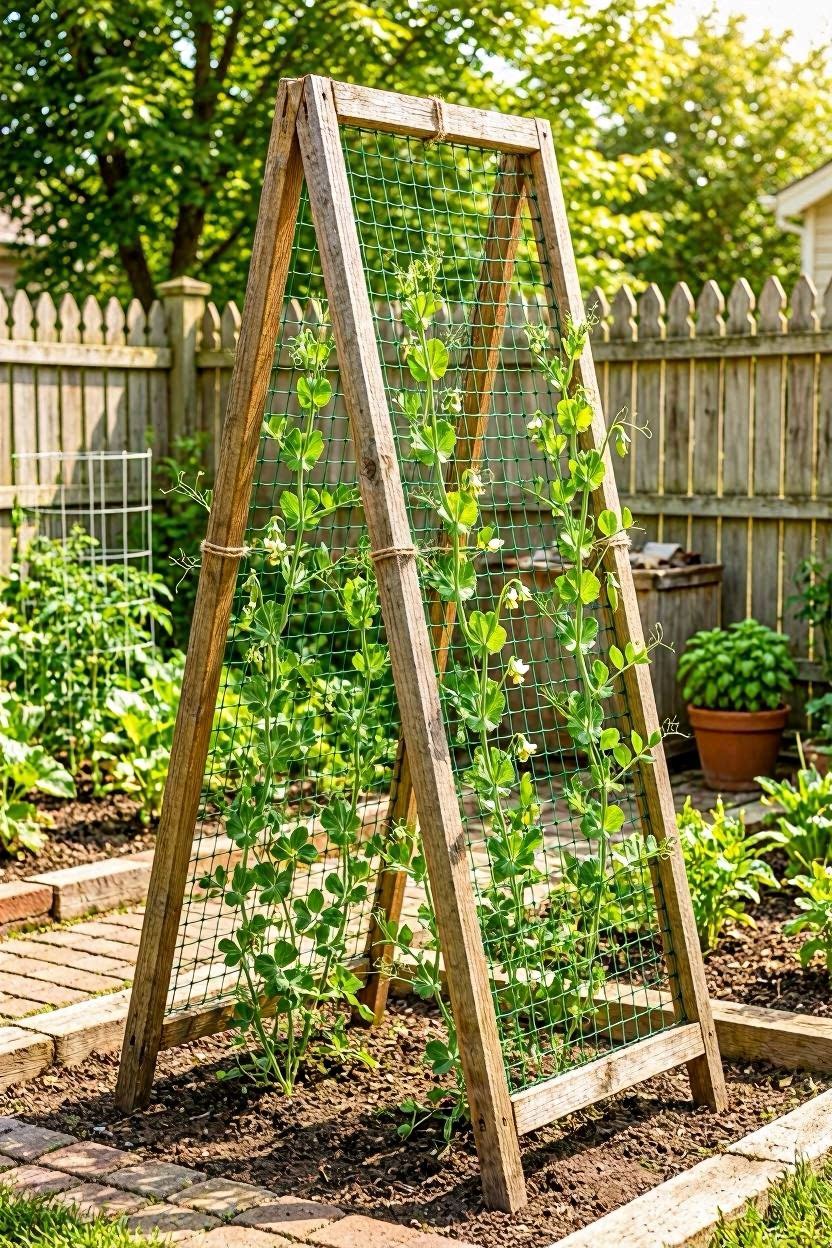
3.2 — A-Frame Trellis with Garden Netting
Best for: Sugar snap and tall peas Cost: $15–$25 Time: 30–45 minutes
What you need:
- 4 wooden stakes or 1x2 lumber (6 ft)
- Garden netting (6 ft x 10 ft, ~$12 on Amazon)
- Wire or zip ties
Steps:
- Cut 4 pieces of lumber to 6 ft each.
- Tie two pieces together at the top to form a V-shape (one side of the A).
- Repeat for the other side.
- Stand both V-shapes upright, 3 ft apart, leaning toward each other.
- Connect the two sides at the top with a horizontal pole.
- Attach netting to both sides using zip ties or wire.
- Plant peas on both sides — they’ll climb up and over.
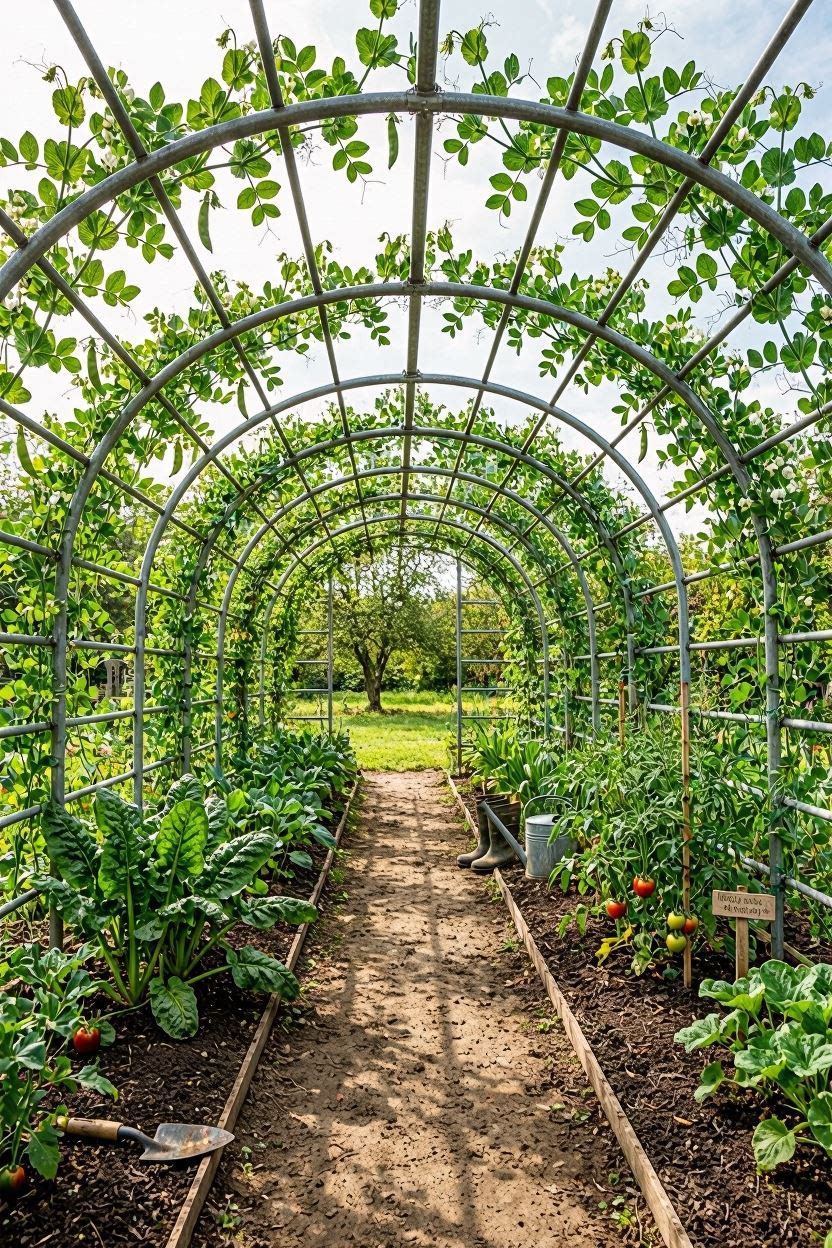
3.3 — Cattle Panel Arch Tunnel
Best for: Large gardens, long rows Cost: $25–$40 Time: 45 minutes
What you need:
- 1 cattle panel (16 ft x 50 inches, ~$30 at Tractor Supply)
- 4 T-posts or rebar stakes
- Wire ties
Steps:
- Drive 2 T-posts into the ground on each side of your bed, 5 ft apart.
- Bend the cattle panel gently into an arch shape.
- Hook each end of the panel onto the T-posts.
- Secure with wire ties at each post.
- Plant peas at the base on both sides — they’ll grow right up the grid.
This style also creates a beautiful garden tunnel you can walk through.
3.4 — Horizontal String Trellis Between Posts
Best for: Long garden rows Cost: $10–$20 Time: 30 minutes
What you need:
- 2–4 wooden posts or T-posts (5–6 ft)
- Jute or cotton twine
- Hammer or post pounder
Steps:
- Drive posts into the soil every 4–6 ft along your row.
- Starting 6 inches from the ground, tie a length of twine from post to post.
- Move up 6 inches and run another horizontal line.
- Continue until you reach the top of the posts.
- Optional: Add vertical strings every 12 inches for more grip.
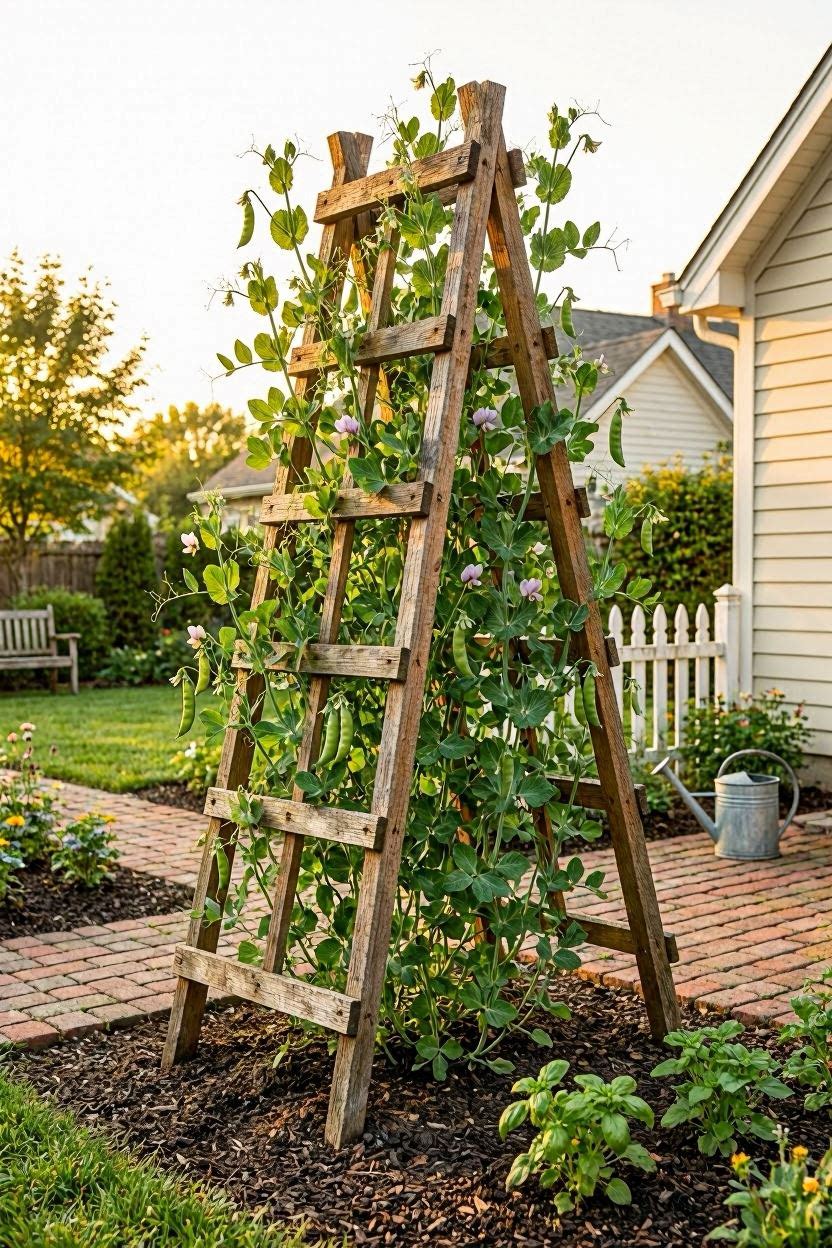
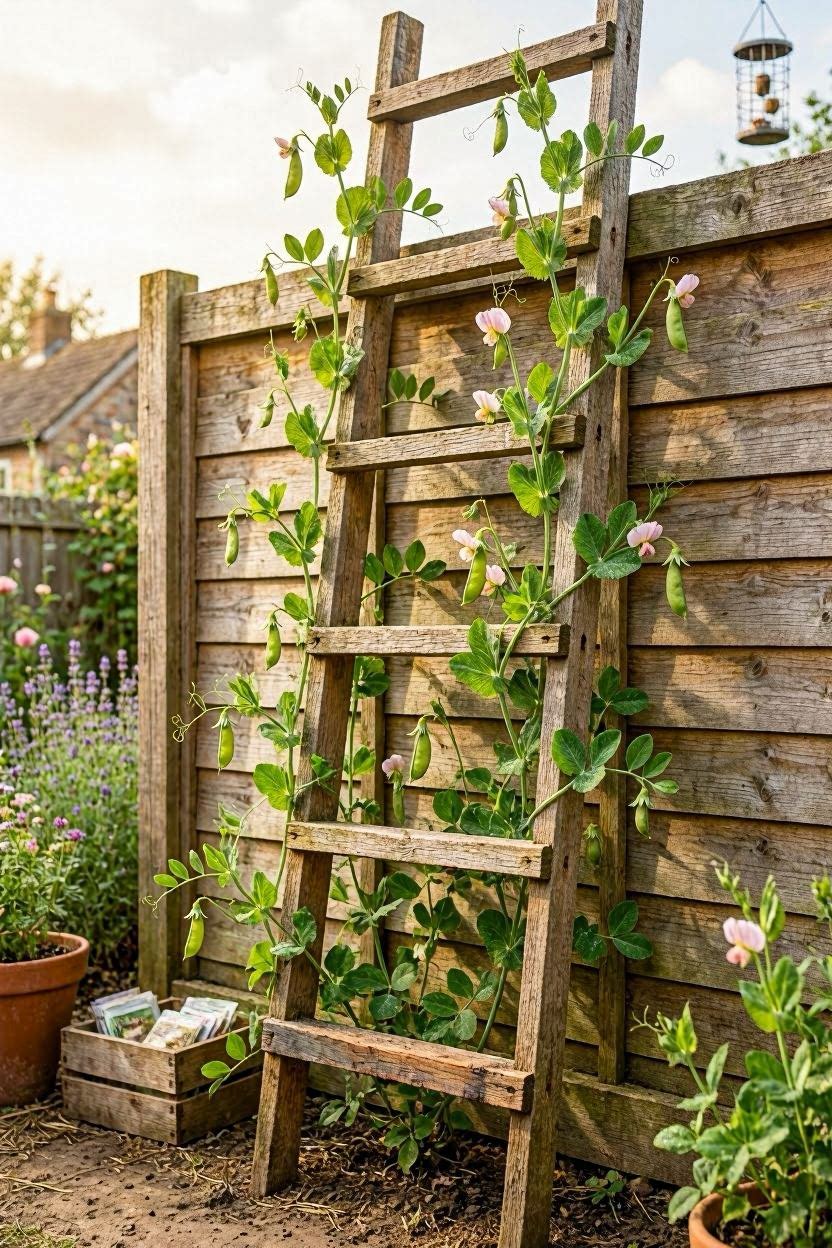
3.5 — Wooden Ladder Trellis (Decorative + Functional)
Best for: Near fences, walls, or as a garden focal point Cost: $15–$30 Time: 1 hour
What you need:
- 2 long 1x2 boards (6 ft)
- 5–6 short cross pieces (18 inches each)
- Wood screws or nails
- Exterior wood glue (optional)
Steps:
- Lay both long boards parallel, 18 inches apart.
- Attach cross pieces every 12 inches using screws.
- Sand any rough edges.
- Seal with outdoor wood stain if you want it to last longer.
- Lean against a fence or stake upright in the garden bed.
- Plant peas at the base and guide them onto the rungs.
3.6 — Branch and Twig Trellis (Free and Natural)
Best for: Cottage-style or eco gardens Cost: $0 — free from yard debris Time: 20–30 minutes
Steps:
- Collect straight-ish branches, at least 4–5 ft long.
- Push the thicker end firmly into the soil.
- Arrange in a row, or lean pairs together like a teepee.
- Weave smaller twigs or tie twine between the branches.
- Peas will naturally grab the texture and climb.
This is one of the most attractive low-cost options — looks great in a cottage or wildflower garden.
3.7 — Wire Fence Panel Trellis
Best for: Raised beds, beginners Cost: $10–$18 Time: 15 minutes
What you need:
- Welded wire fencing (4 ft x 10 ft roll, ~$14 at Lowe’s)
- 2–3 stakes or rebar
Steps:
- Unroll the wire fencing and cut to your desired length.
- Push rebar or stakes into the soil every 4 ft.
- Attach the wire panel to the stakes using wire ties.
- Plant peas along the base — they’ll thread through the grid easily.
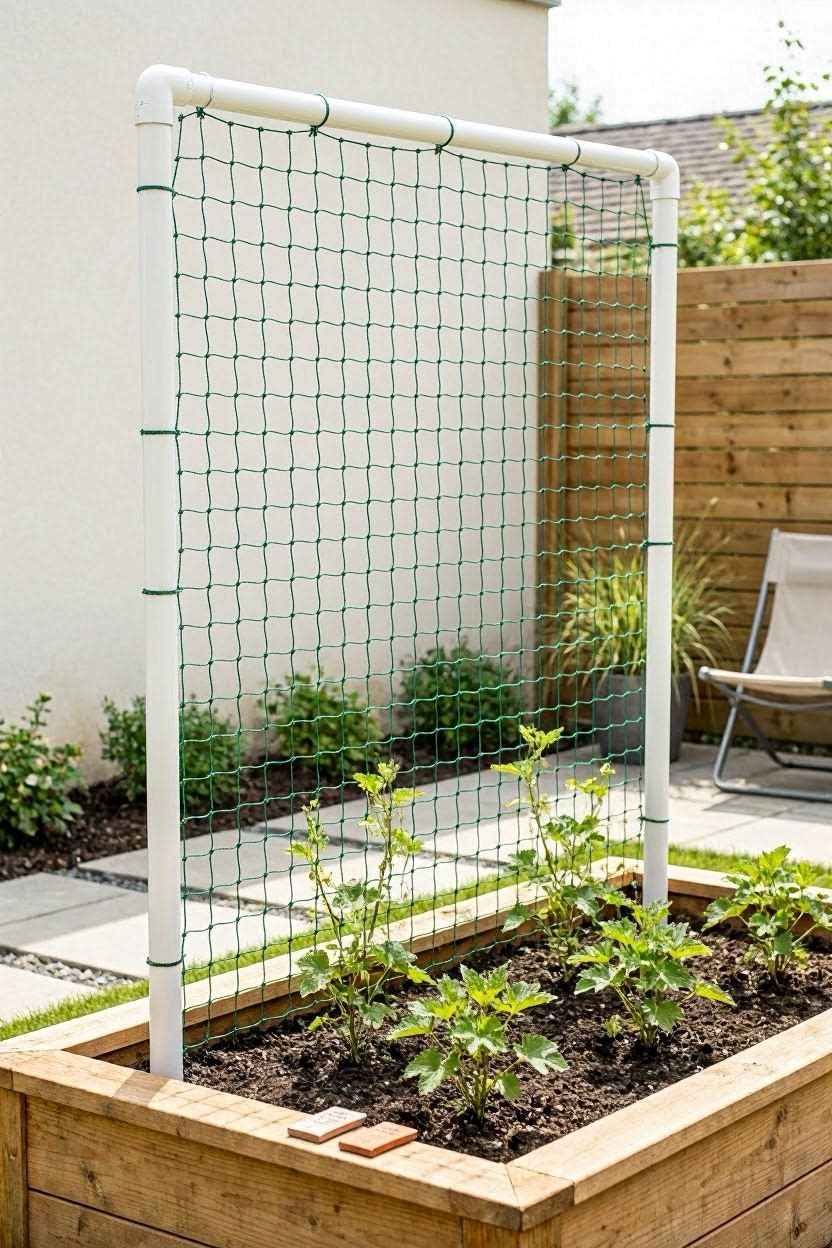
3.8 — PVC Pipe Frame with Netting
Best for: Gardeners who want a reusable, lightweight system Cost: $20–$30 Time: 45 minutes
What you need:
- ½ inch PVC pipe (pick up at Home Depot, ~$3 per 10 ft section)
- PVC elbow and T-connectors
- Garden netting
Steps:
- Cut PVC into: 2 vertical pieces (5–6 ft), 1 horizontal top piece, 2 short base feet.
- Connect pieces using elbow joints for the top corners and T-joints for the base.
- Pound short rebar stakes into the soil and slip the PVC feet over them to anchor.
- Zip-tie netting to the frame.
- Disassemble and store at season’s end — it lasts for years.
3.9 — Cattle Panel Flat Trellis (No-Arch Version)
Best for: Beginners, fences, raised beds against walls Cost: $25–$35 Time: 20 minutes
Steps:
- Stand a cattle panel flat (vertically) along a fence or between 2 T-posts.
- Secure it at the top and bottom with wire ties.
- Plant peas directly at the base.
- No extra netting needed — the grid spacing is perfect for pea tendrils.
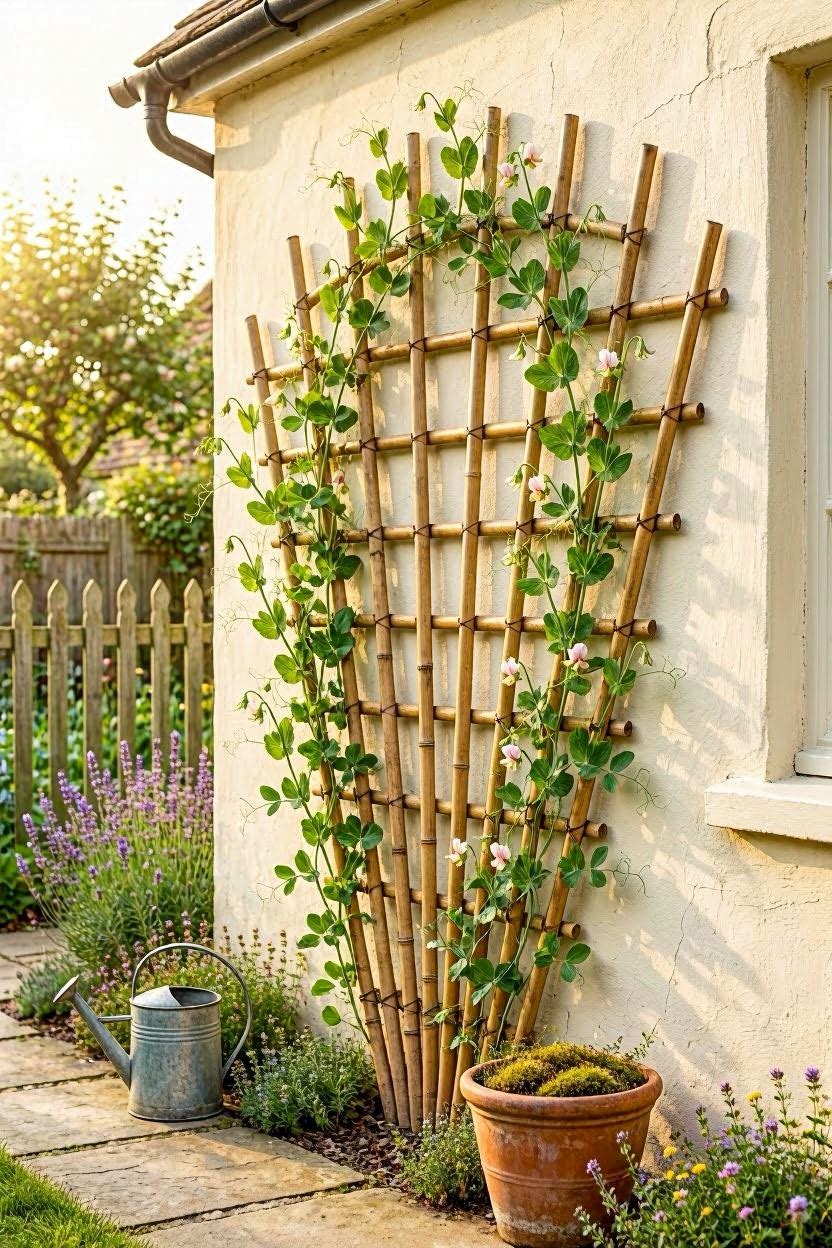
3.10 — Fan or Sunburst Trellis (Decorative Style)
Best for: Against walls, raised beds as a focal point Cost: $10–$20 Time: 30 minutes
What you need:
- 7–9 bamboo poles or thin wooden dowels
- Twine or flexible wire
Steps:
- Push the bottom of all poles into the soil at a single base point (like a fan).
- Spread them out at the top to create a fan or sunburst shape.
- Tie horizontal lines of twine between the poles at 6-inch intervals.
- Plant peas right at the base center — vines will spread across the fan.
3.11 — Raised Bed Built-In Trellis
Best for: New raised beds, permanent installs Cost: $20–$40 added to bed cost Time: 1 hour (build alongside the bed)
Steps:
- Build your raised bed as normal.
- Before filling with soil, attach two 2x2 posts to the inside corners at one end.
- Let the posts extend 5–6 ft above the bed.
- String wire or netting between the posts.
- Optional: Add a second set of posts at the opposite end and run wire down the full length.
3.12 — Tomato Cage Repurposed for Peas
Best for: Bush peas or short pea varieties Cost: $3–$8 each (you may already own them) Time: 5 minutes
Steps:
- Simply push the wire tomato cage into the soil next to your pea seedlings.
- Guide the first few tendrils toward the cage rings.
- Peas will take over from there and fill the cage naturally.
Great use for cages sitting unused in the garage after tomato season.
3.13 — Cattle Panel + Wood Frame Raised Bed Trellis System
Best for: Serious gardeners, multi-season use Cost: $40–$60 total Time: 1.5–2 hours
Steps:
- Build a simple rectangular wood frame from 2x4 lumber (top and bottom rails).
- Attach a cattle panel between the two rails using wire staples or wire ties.
- Set the whole panel upright against T-posts or anchor it to raised bed walls.
- This system is extremely strong and easy to store flat at season’s end.
3.14 — Chicken Wire on a Wooden Frame
Best for: Budget gardeners Cost: $12–$20 Time: 30 minutes
What you need:
- 1x2 lumber for a rectangular frame
- Chicken wire (1-inch hex mesh, ~$10 for a small roll at Lowe’s)
- Staple gun
Steps:
- Build a simple rectangular frame from 1x2 boards.
- Stretch chicken wire tightly across the frame.
- Staple the wire to the wood every 4–6 inches.
- Drive stakes into the soil and attach the frame to them.
3.15 — Wattle Fence Trellis (Old-World Style)
Best for: Heritage gardens, natural aesthetics Cost: $0–$10 Time: 45 minutes
Steps:
- Cut flexible branches (willow, dogwood, or hazel work best — find at a nursery or cut from the yard).
- Push thick vertical stakes into the soil every 8–10 inches.
- Weave thin branches horizontally in and out of the stakes.
- Keep weaving upward until you reach 4–5 ft.
- The woven surface gives peas tons of grip to hold onto.
Section 4: Quick Cost Comparison — All 15 Ideas
| Trellis Type | DIY Cost | Time | Reusable |
|---|---|---|---|
| Bamboo Teepee | $5–$10 | 20 min | 2–3 seasons |
| A-Frame + Netting | $15–$25 | 45 min | Yes |
| Cattle Panel Arch | $25–$40 | 45 min | 10+ years |
| Horizontal String | $10–$20 | 30 min | Partial |
| Wooden Ladder | $15–$30 | 1 hr | 5+ years |
| Branch/Twig | $0 | 20 min | 1 season |
| Wire Fence Panel | $10–$18 | 15 min | Yes |
| PVC Frame | $20–$30 | 45 min | Yes |
| Cattle Panel Flat | $25–$35 | 20 min | 10+ years |
| Fan/Sunburst | $10–$20 | 30 min | 2–3 seasons |
| Raised Bed Built-In | $20–$40 | 1 hr | Permanent |
| Tomato Cage | $3–$8 | 5 min | Yes |
| Cattle Panel + Wood | $40–$60 | 2 hr | Yes |
| Chicken Wire Frame | $12–$20 | 30 min | Yes |
| Wattle Fence | $0–$10 | 45 min | 1–2 seasons |
Section 5: Tips for Getting the Best Results
- Plant at the right time: Set up your trellis before planting seeds, not after. Peas grow fast and you’ll disturb roots trying to install it later.
- Push stakes deep: At least 12 inches into the soil so the trellis doesn’t lean over when vines get heavy.
- Guide early: In the first week, gently wrap young tendrils around the trellis. After that, peas handle themselves.
- Face north or south: Run your trellis row north-to-south so both sides get good morning and afternoon sun.
- Leave spacing: Plant peas 3–4 inches apart along the trellis base for good airflow.
FAQ
How tall should a pea trellis be? For bush peas: 2 ft. For snow and snap peas: 4–6 ft. Always check your seed packet — it will say the expected vine height.
Can I reuse my trellis next year? Wire, PVC, cattle panel, and wooden trellises all last multiple seasons if stored dry. Jute twine and untreated bamboo usually last 1–2 seasons.
What’s the cheapest pea trellis? A branch twig trellis costs $0. A tomato cage repurpose costs as little as $3. The horizontal string trellis is the cheapest built-from-scratch option at under $12.
When should I set up the trellis? Before planting — or at the latest when seedlings are 2 inches tall.
Do I need to tie peas to the trellis? Not usually. Pea tendrils find and grip thin supports on their own. You may want to gently guide the first few vines to get them started.
Final Thoughts
There’s a pea trellis idea here for every budget, garden size, and skill level. The simplest and cheapest options — twig trellises or repurposed tomato cages — work just as well as store-bought systems for many home gardeners. If you want something that lasts for years with zero maintenance, a cattle panel trellis is the best long-term investment. Whatever style you pick, just get it in the ground before your peas are more than a couple inches tall, and they’ll do the climbing themselves.