15 Beautiful Mandevilla Trellis Ideas to Transform Your Outdoor Space
Introduction
Mandevilla is one of the fastest-growing flowering vines you can grow in the USA. Its trumpet-shaped blooms come in deep red, hot pink, and creamy white — and when you pair them with the right trellis, your porch, fence, or garden wall turns into a showstopper.
The good news? You don’t need a big garden or a big budget. A $15 trellis from a hardware store and a $10 mandevilla plant is all it takes to get started.
This guide walks you through the best mandevilla trellis ideas — from simple store-bought options to creative DIY setups — with real product names, costs, and step-by-step advice.
1. Choose the Right Trellis Type
1.1 Why Trellis Choice Matters
Mandevilla vines can grow 10–20 feet long in a single season. That means a flimsy plastic trellis will buckle by August. You need something that can handle both the weight of the vine and wind load.
Here’s a quick comparison of the most popular trellis types:
| Trellis Type | Best For | Average Cost | Where to Buy |
|---|---|---|---|
| Wooden fan trellis | Pots and small walls | $10–$25 | Home Depot, Walmart |
| Metal obelisk | Container gardens | $20–$60 | Amazon, Target |
| Wall-mounted grid | Fences and siding | $15–$40 | Lowe’s, Amazon |
| Bamboo teepee | Budget DIY | $5–$15 | Dollar Tree, Amazon |
| Cattle panel arch | Large garden entries | $40–$80 | Tractor Supply Co. |
| PVC pipe frame | Custom shapes, DIY | $10–$30 | Home Depot |
1.2 Matching Trellis to Your Space
- Small porch or balcony → Metal obelisk or fan trellis in a 10–14 inch pot
- Garden fence → Wall-mounted grid or bamboo panels tied to fence posts
- Garden arch or entry → Cattle panel bent into an arch, two posts driven into the ground
- Container on a deck → Obelisk trellis, at least 18 inches tall for visual balance
2. Set Up a Container Mandevilla Trellis (Step-by-Step)
This is the most beginner-friendly setup. You can do it in under 30 minutes.
What You Need
- 1 mandevilla plant (Sun Parasol® Giant Pink, ~$12 at Lowe’s or Home Depot)
- 1 large pot, 12–14 inch diameter with drainage holes
- 1 metal obelisk trellis, 24–36 inches tall (~$18–$35 on Amazon)
- Potting mix for containers (Miracle-Gro® Moisture Control, ~$9 per bag)
- Soft garden ties or twist ties
Step 1 — Fill the Pot
Fill the pot about halfway with potting mix. Place the trellis in the center first, pushing the legs firmly into the soil.
Step 2 — Plant the Mandevilla
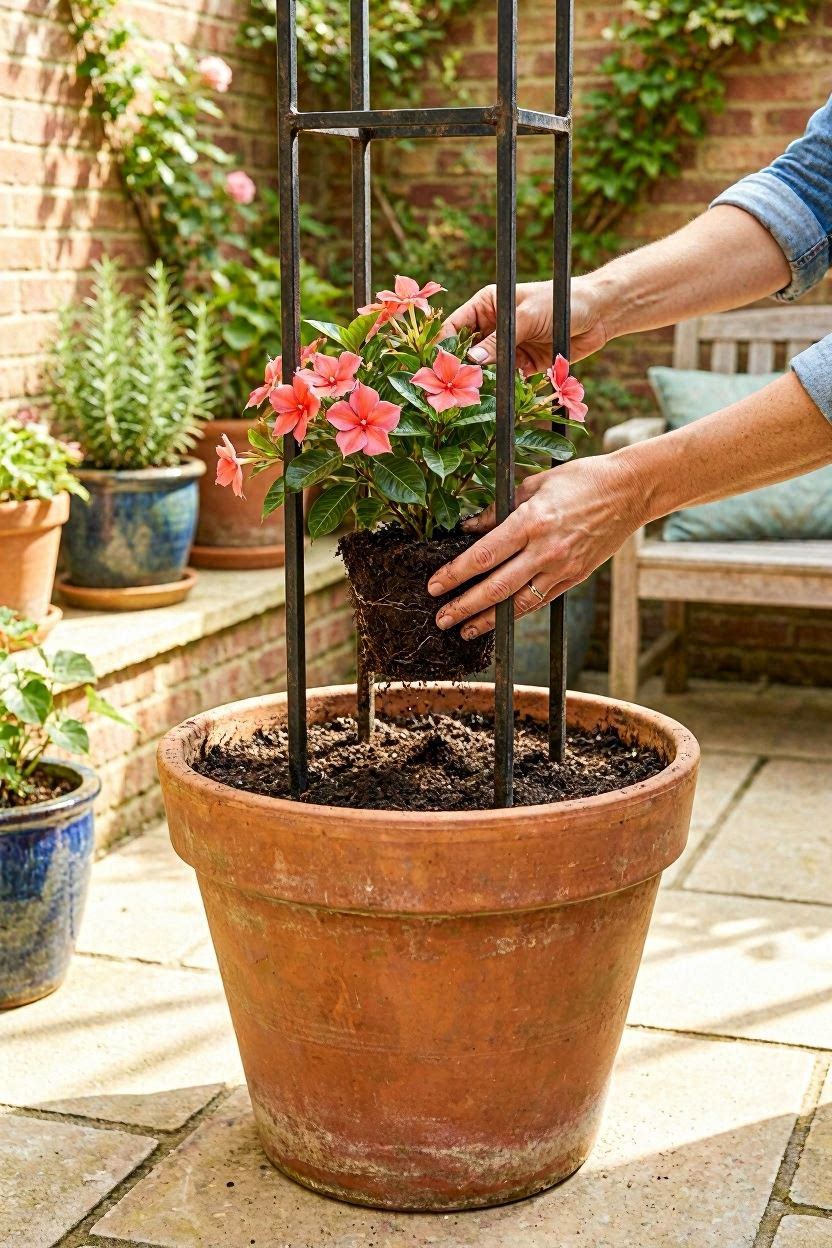
Remove the mandevilla from its nursery pot. Set it right at the base of the trellis. Backfill with more potting mix, leaving about an inch of space at the top for watering. Press down gently so there are no air pockets.
Step 3 — Guide the Vines
Mandevilla is a twining vine — it wraps itself around supports naturally. But when it’s young, give it a hand. Gently wrap the longest stems around the trellis legs. Use soft twist ties if needed. Avoid using wire ties, which can cut into stems.
Step 4 — Water and Position
Water thoroughly until it drains from the bottom. Place the pot in a spot that gets at least 6 hours of direct sun per day. South or west-facing spots work best in most US states.
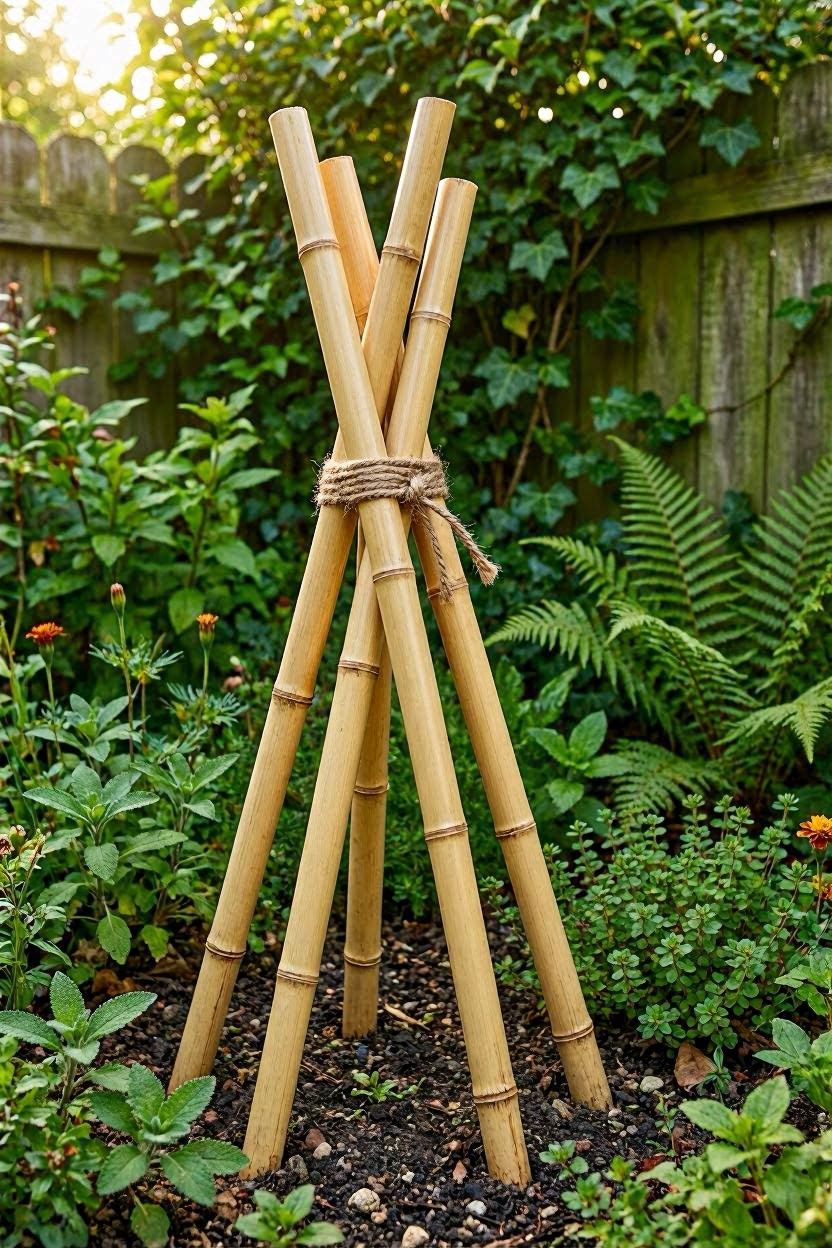
3. Build a DIY Bamboo Teepee Trellis
This is the cheapest option — you can build one for under $10 — and it looks surprisingly elegant with mandevilla in full bloom.
What You Need
- 5–6 bamboo canes, 5–6 feet tall (~$6 for a pack of 25 on Amazon, search “natural bamboo garden stakes”)
- Garden twine or jute rope
- 1 mandevilla plant
- A garden bed or large pot (at least 14 inches wide)
Step 1 — Push the Canes Into the Ground
Space the canes evenly in a circle about 12 inches apart. Push each one about 6 inches into the soil at an angle so they lean inward. They should cross at the top like a teepee.
Step 2 — Tie the Top
Wrap jute twine tightly around the crossing point at the top several times, then tie off. This locks the structure and keeps it from spreading when the vine loads up.
Step 3 — Add Horizontal Lines
Wrap twine around the canes at two or three heights going up. This gives the vine more places to grip as it climbs.
Step 4 — Plant and Train
Plant the mandevilla at the base of the teepee. Weave the stems through the lower twine lines. Within a few weeks, the vine will take over and fill the structure on its own.
Pro tip: A teepee trellis looks great with red mandevilla (try ‘Alice Du Pont’ variety, ~$10 at garden centers) against a white fence background.
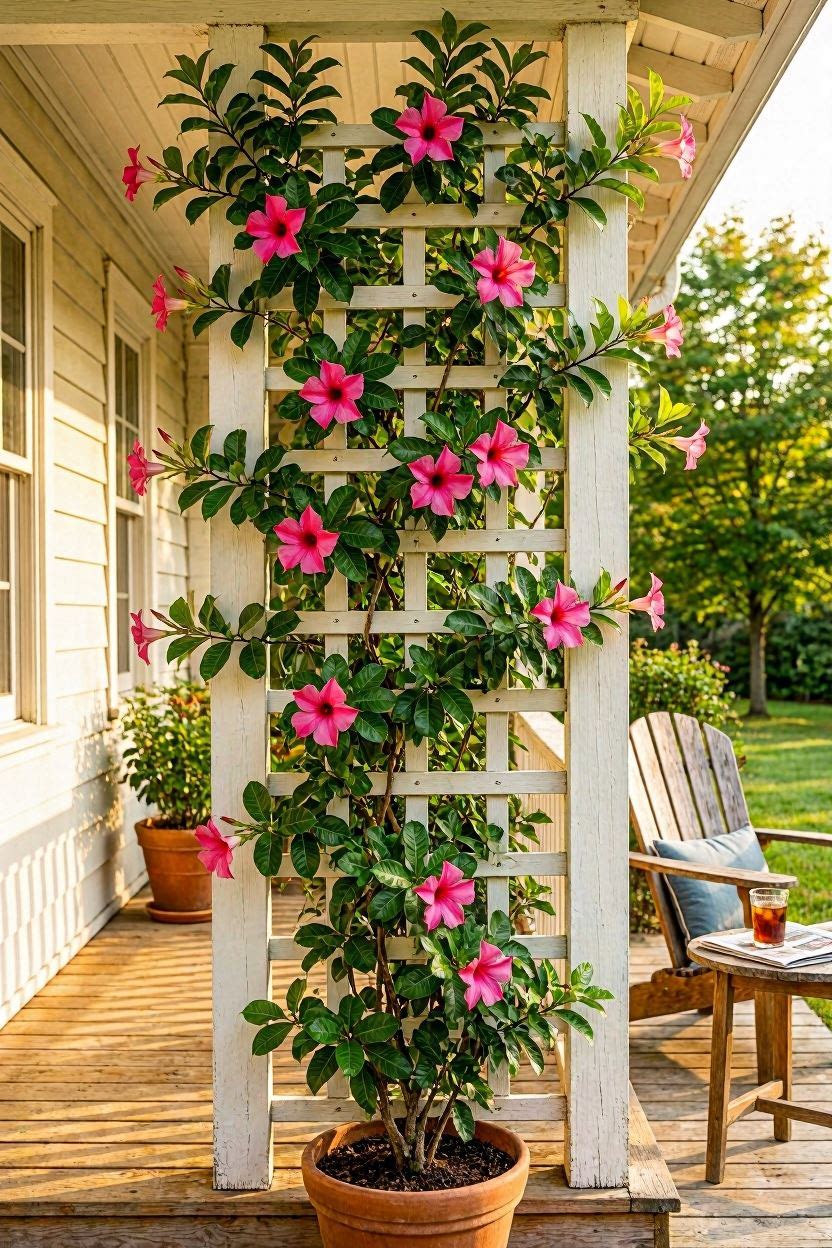
4. Wall-Mounted Grid Trellis for Fences and Siding
If you have a plain fence, a blank exterior wall, or a vinyl privacy screen, a wall-mounted grid trellis turns it into a vertical garden.
Best Products to Use
| Product | Size | Cost | Link/Store |
|---|---|---|---|
| Gardman 7680 Steel Grid Trellis | 48” × 24” | ~$22 | Amazon |
| Panacea Products 89775 | 36” × 14” | ~$15 | Walmart, Home Depot |
| YARDBIRD Galvanized Grid Panel | 48” × 48” | ~$35 | Lowe’s |
| DIY wood lath strips | Custom | ~$12 | Home Depot lumber section |
Step 1 — Mount With Standoff Spacers
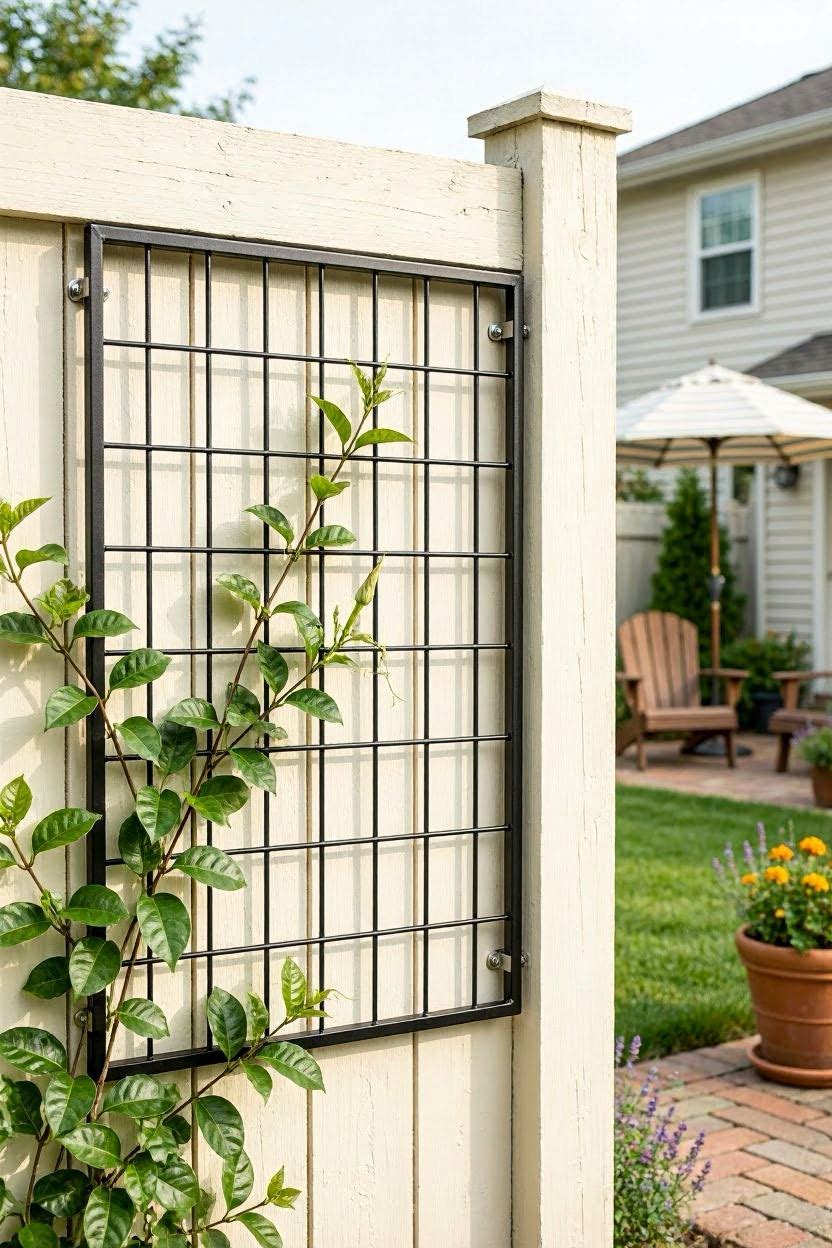
Don’t mount the trellis flat against the wall. Use 1.5–2 inch standoff spacers (also called wall trellis spacers, ~$8 for a pack on Amazon). This creates an air gap that lets vines wrap around the grid and keeps moisture from building up against your siding.
Step 2 — Use Masonry Anchors on Brick or Stucco
If you’re mounting to brick or stucco, use ¼-inch masonry anchors. Drill pilot holes first with a hammer drill. On wood fences or siding, use 2-inch exterior screws.
Step 3 — Train the Vine Diagonally
Once mounted, plant mandevilla at the base (in the ground or in a pot). Train the stems outward in a fan shape rather than straight up. This spreads the blooms across the whole grid instead of just the center.
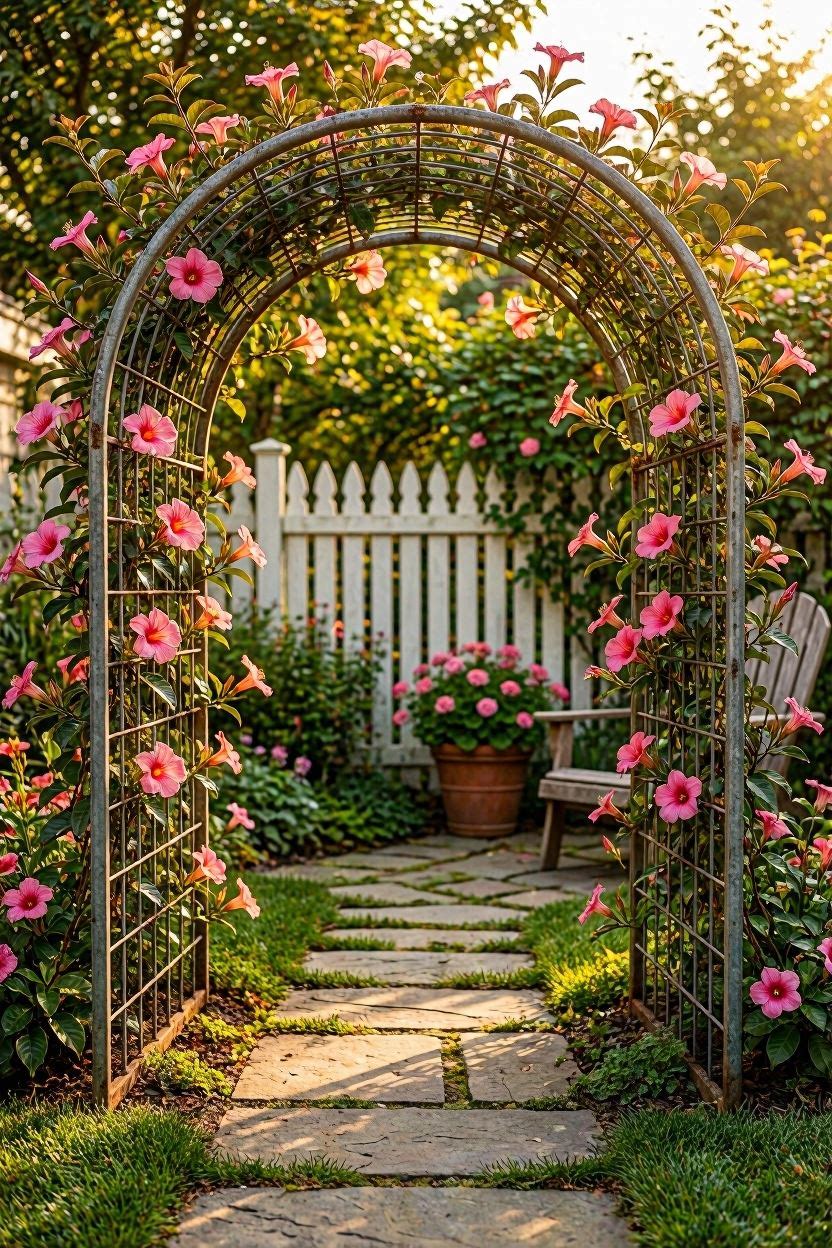
5. Create a Mandevilla Arch for a Garden Entry
A mandevilla-covered arch over a garden path or gate is one of the most dramatic things you can do with this vine. In full bloom, it looks like something out of a magazine.
The Cattle Panel Method
This is the strongest and most affordable way to build a garden arch.
- What you need: 1 cattle panel (16 ft × 4 ft, ~$30–$40 at Tractor Supply Co.), 4 metal T-posts (~$5 each), wire or zip ties
- How it works: Drive two T-posts on each side of the path, about 4 feet apart. Bend the cattle panel over the top to form an arch and attach each end to the T-posts with wire.
Step 1 — Set Your Posts
Drive two T-posts on one side of the path, 4 feet apart and 2 feet deep. Repeat on the other side, directly across. Total span: about 4 feet wide, which is a comfortable walking width.
Step 2 — Bend the Panel Into an Arch
Cattle panels are flexible enough to bend by hand. Have a helper hold one end while you push the center into an arch shape. Attach each corner to the T-posts with wire or heavy zip ties. The arch should be at least 7 feet tall at the center for comfortable walking.
Step 3 — Plant on Both Sides
Plant one mandevilla at the base of each side. Train the stems up the sides of the arch. By midsummer, they’ll meet in the middle and the whole arch will be covered in blooms.
Cost breakdown:
- 1 cattle panel: ~$35
- 4 T-posts: ~$20
- 2 mandevilla plants: ~$20
- Total: ~$75 for a magazine-worthy garden arch
6. Porch Railing Trellis Ideas
If you have a porch railing, you already have a built-in trellis structure. Mandevilla loves to climb railings, and it looks beautiful from both inside and outside the house.
6.1 Simple Twine Trellis Between Posts
Run jute twine or outdoor wire vertically between the top and bottom railings in a series of lines spaced about 6 inches apart. This gives the vine clear pathways. Cost: under $5.
6.2 Copper Pipe Railing Trellis
For a more decorative look, use ½-inch copper pipe ($8–$12 per 10-foot length at Home Depot) cut into vertical sections and zip-tied or wired between railing rails. Copper develops a patina over time that looks beautiful next to the green foliage.
6.3 Expandable Wooden Trellis Panels
These accordion-style trellis panels expand to fit between porch posts. Brands like Vigoro and Emsco Group sell them at Home Depot for $15–$30. They install in minutes with zip ties or small hooks.
7. Mandevilla Trellis Care Tips
Growing mandevilla on a trellis is easy if you get a few basics right.
| Care Task | What to Do | How Often |
|---|---|---|
| Watering | Deep water, let soil dry slightly between | Every 2–3 days in summer |
| Fertilizing | Use high-phosphorus fertilizer (like Osmocote® Bloom Booster) | Every 2 weeks in growing season |
| Training vines | Redirect new growth toward open trellis space | Weekly during active growth |
| Pruning | Trim dead stems and crossed branches | Monthly or as needed |
| Winter care (USDA Zones 9–11) | Leave on trellis, reduce watering | Fall/winter |
| Winter care (Zones below 9) | Bring indoors before first frost | Before October |
7.1 Tying and Anchoring New Growth
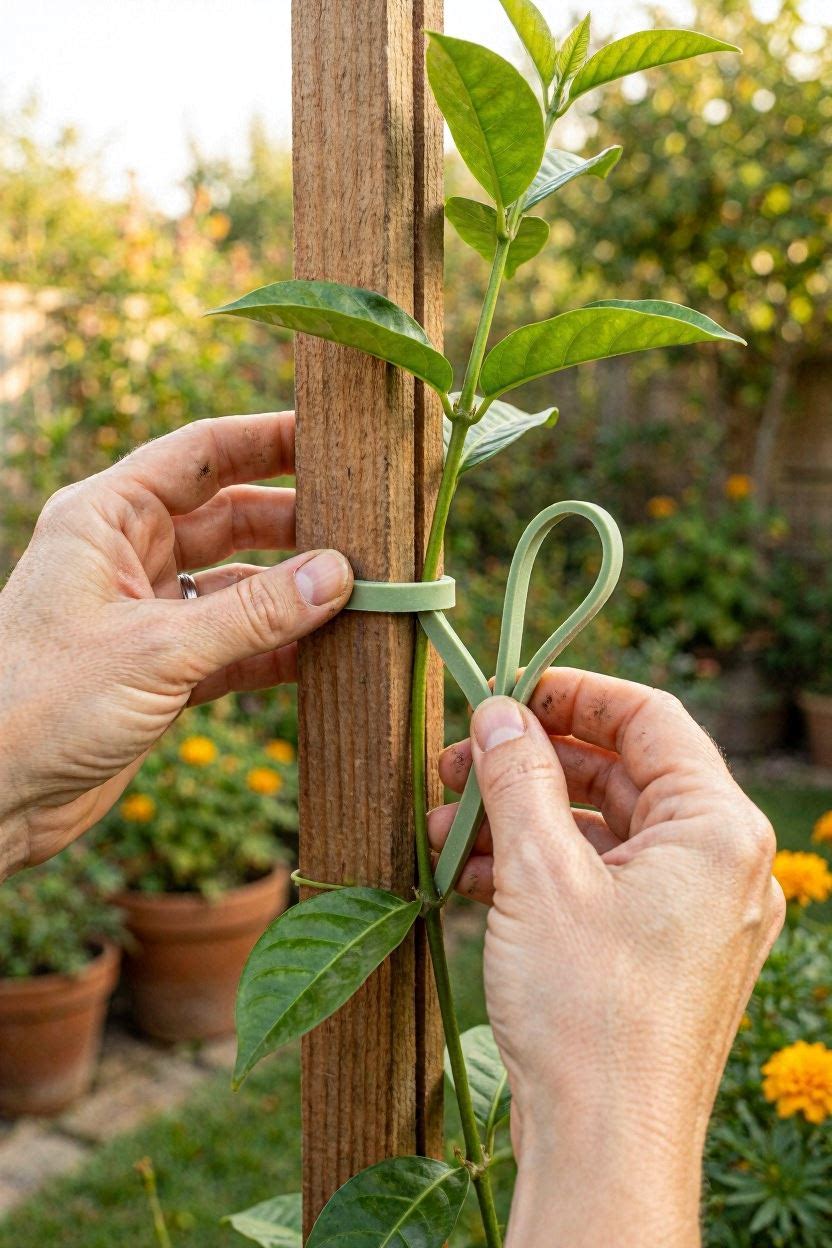
Use soft silicone ties (sold as “Soft Garden Ties” on Amazon, ~$6 per roll) rather than wire or string that can cut into the vine. Tie loosely — you want to guide, not bind. Retie every few weeks as stems thicken.
8. Quick Material Comparison: Trellis Materials
| Material | Durability | Weather Resistance | Appearance | Cost Range |
|---|---|---|---|---|
| Cedar wood | 10–15 years | Good (stain/seal it) | Warm, natural | $20–$60 |
| Galvanized steel | 20+ years | Excellent | Modern, clean | $25–$80 |
| Copper pipe | 30+ years | Excellent | Decorative, aged | $15–$40 |
| Bamboo | 3–5 years | Moderate | Natural, organic | $5–$20 |
| Painted PVC | 10+ years | Excellent | Clean, white | $10–$30 |
| Wrought iron | 20+ years | Good (coat annually) | Ornate, classic | $40–$150 |
9. Budget-Friendly Trellis Ideas Under $20
You don’t have to spend much to get a great look. Here are setups that cost $20 or less:
- Ladder trellis: Buy a cheap wooden decorative ladder at HomeGoods or TJ Maxx ($15–$20), lean it against a wall, and plant mandevilla at the base
- PVC grid: Buy two 10-foot PVC pipes, cut into sections, and join with PVC cross connectors. Total cost: ~$12
- Tension wire on fence: Stretch 14-gauge galvanized wire horizontally between fence posts in rows. Staple or screw in place. Cost: ~$8
- Dollar Store bamboo stakes: Buy 10 bamboo stakes at the Dollar Tree ($1.25 each), tie into a fan or ladder shape with twine
10. Final Thoughts
Mandevilla is one of those plants that rewards a little effort with a lot of beauty. A good trellis is really all it needs to go from a nursery pot to a showpiece in your yard or on your porch.
Start simple — a $15 obelisk in a container is a perfect first setup. Once you see how fast it grows and how many blooms it produces, you’ll want to add more. The cattle panel arch, the wall grid, the bamboo teepee — each one turns a plain corner of your yard into something worth photographing.
The most important thing is to give the vine something sturdy to climb, keep it in full sun, and feed it every two weeks. Do those three things and mandevilla will do the rest.
Frequently Asked Questions
Q: What is the best trellis size for mandevilla? A trellis that is at least 24–36 inches tall is a good starting size for a container plant. For a garden bed, aim for 5–6 feet tall. Mandevilla can reach 10–15 feet in one season, so bigger is always better.
Q: Can mandevilla grow on a chain-link fence? Yes. Chain-link is actually one of the best natural trellises for mandevilla. The vine wraps its stems through the links easily. No extra hardware needed.
Q: Does mandevilla need to be tied to a trellis? When young, yes — use soft ties to guide the stems. Once the vine starts twining on its own (usually after 3–4 weeks), it will climb on its own without much help.
Q: Can I leave mandevilla on the trellis in winter? In USDA Zones 9–11, yes. In colder zones, bring the pot inside before the first frost. If it’s planted in the ground, cut it back and mulch heavily — it may survive in Zone 8.
Q: What direction should a mandevilla trellis face? South or west facing is ideal for most US states. Mandevilla needs at least 6 hours of direct sun. Morning shade is okay; avoid full north-facing walls.